How to Set Up Your BIONFIT Treadmill for the First Time
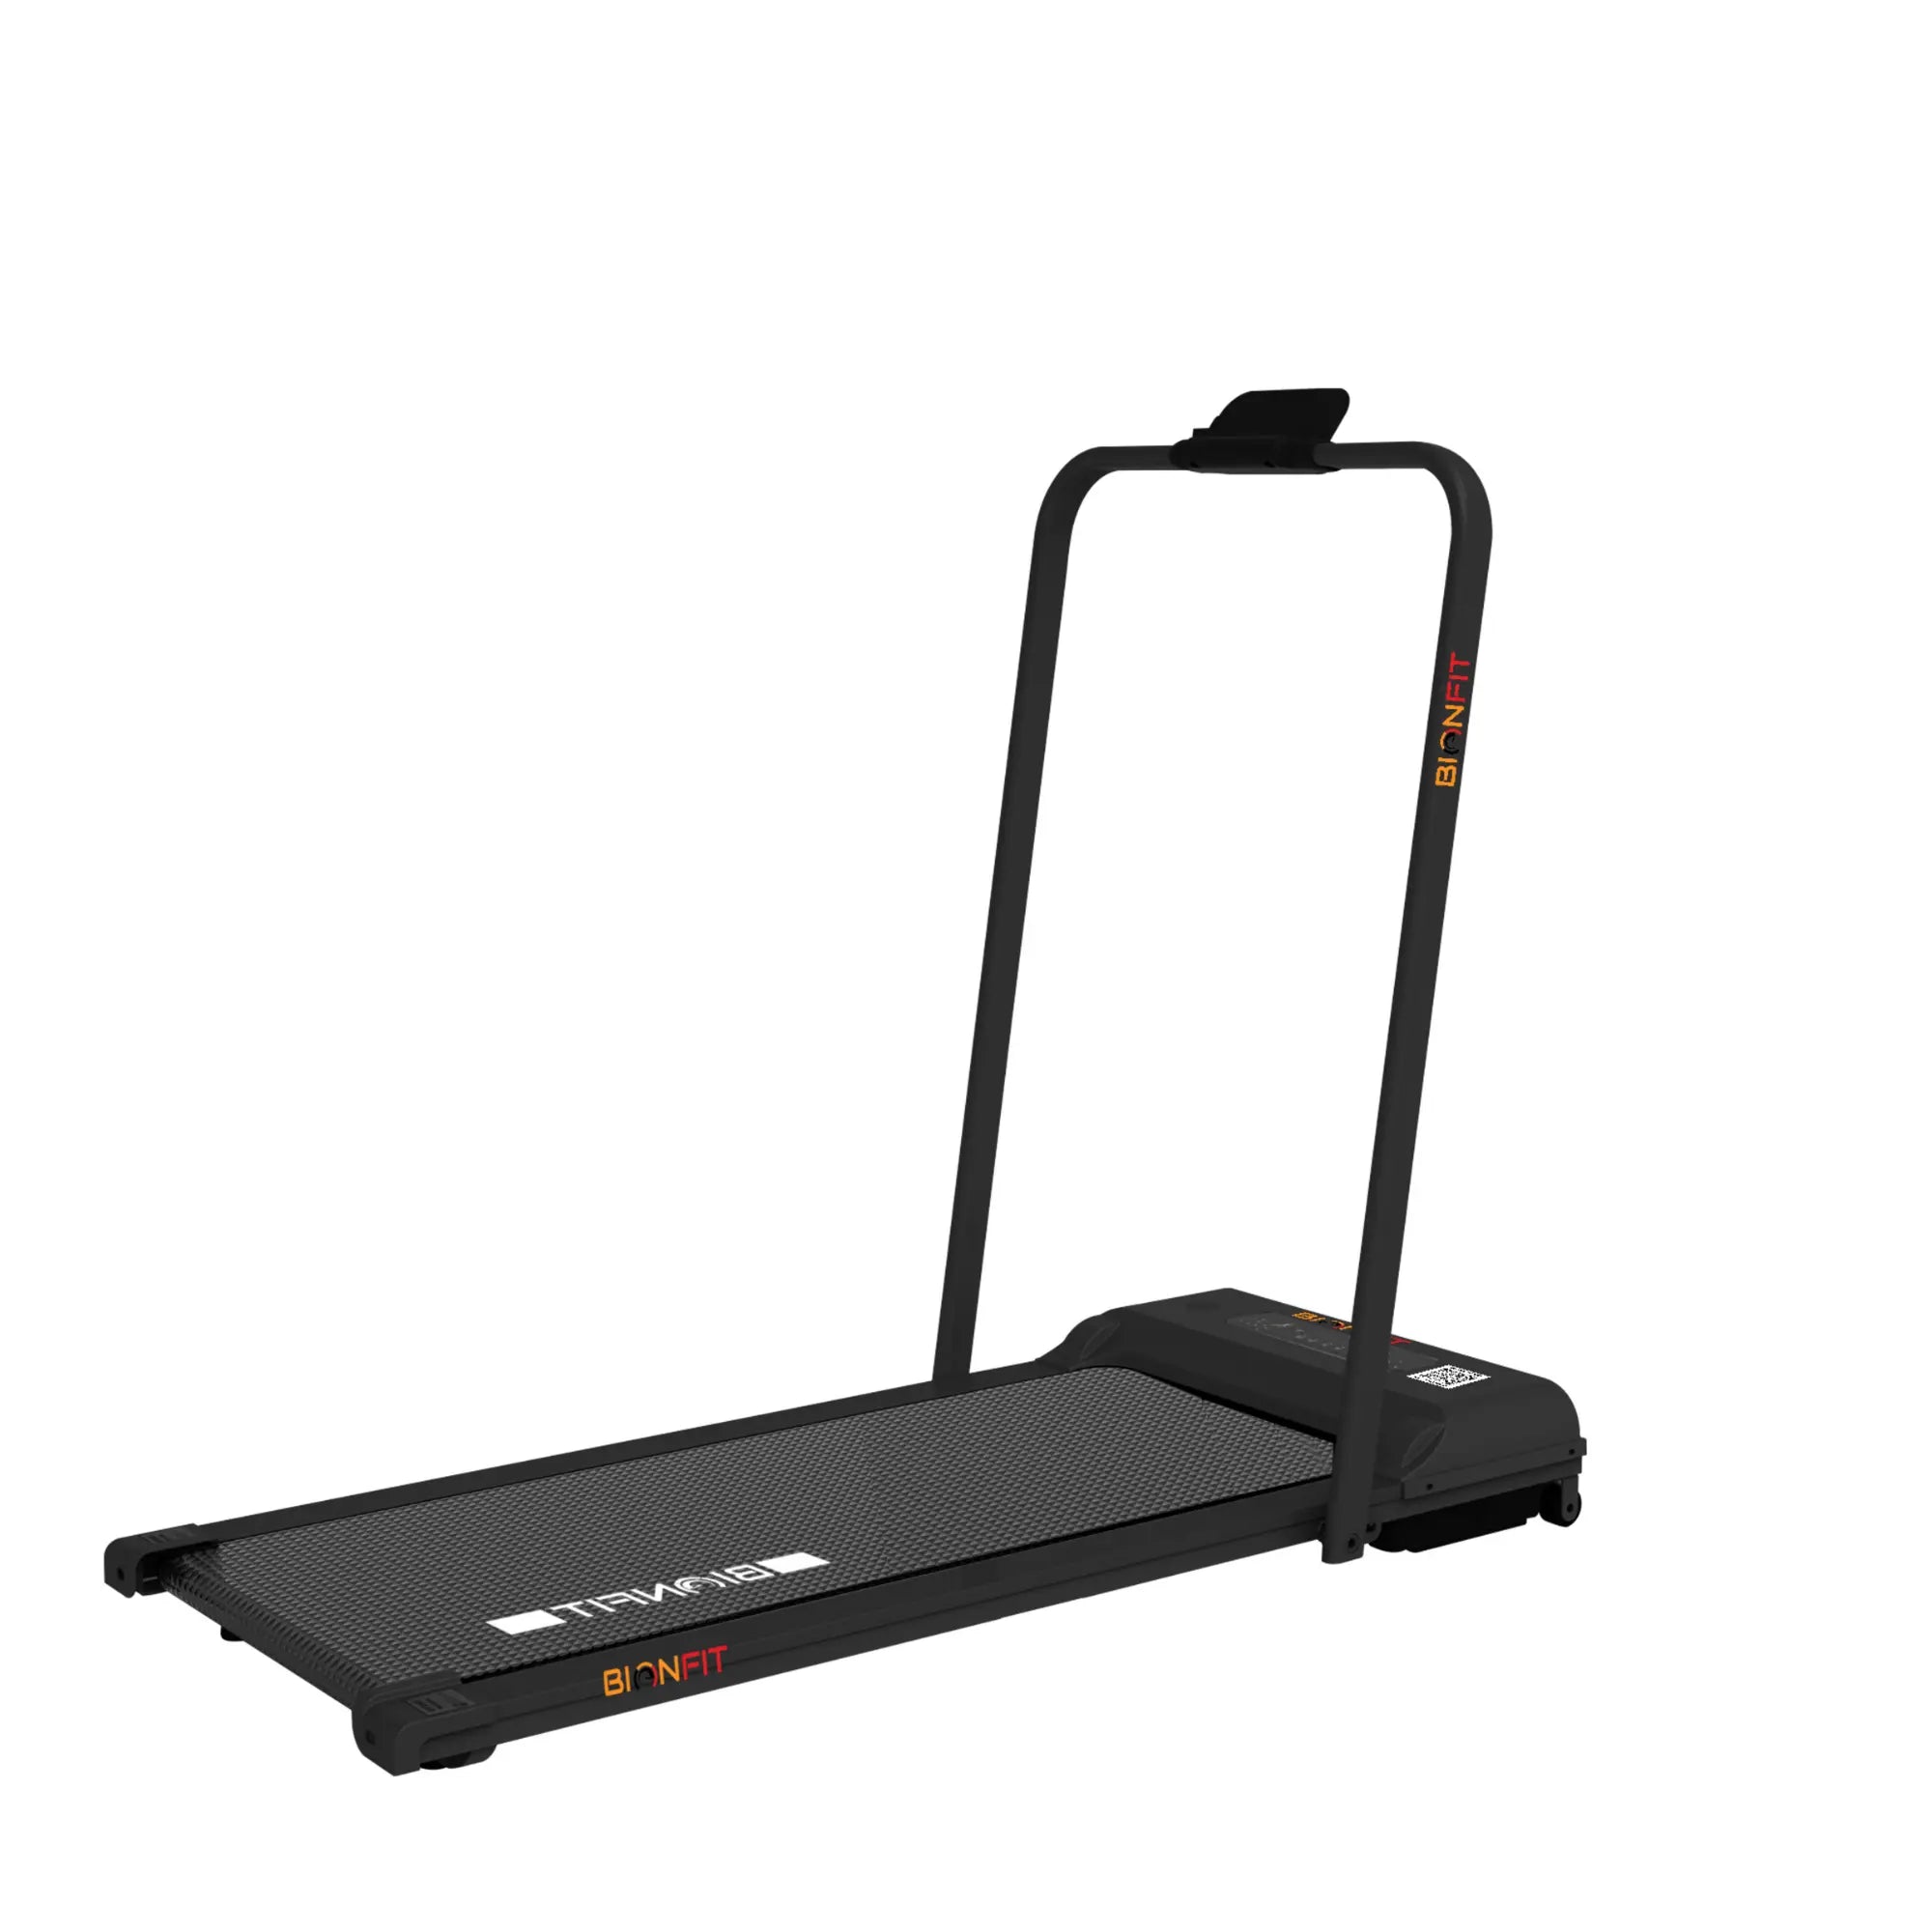
Setting up your BIONFIT treadmill for the first time can be an exciting yet slightly daunting task, especially if you’re new to fitness equipment. This step-by-step guide will make sure your BIONFIT treadmill is ready for use smoothly and effectively. Whether you're setting up the BIONFIT R10 or another model from the BIONFIT treadmill collection, these tips will get you started right.
1. Unboxing and Safety Preparation
Before jumping into the setup, make sure that you have all the necessary tools and parts that come with your BIONFIT treadmill. Follow these steps to ensure safety:
- Clear the Setup Area: Choose a spacious area with a flat, level surface. A carpeted area or using a treadmill mat can provide additional stability and protection for your floor.
- Check for All Parts: In your BIONFIT treadmill box, you should find the treadmill body, safety key, power adapter, bolts, tools, and the user manual. Make sure no parts are missing before beginning.
2. Assembling the Treadmill
The assembly process for a BIONFIT treadmill is designed to be user-friendly, often involving just a few simple steps:
-
Attach the Handrails and Console:
- Start by carefully positioning the base of the treadmill on your selected surface.
- Attach the handrails to the base using the provided bolts. Use the wrench that comes with your treadmill to securely tighten them.
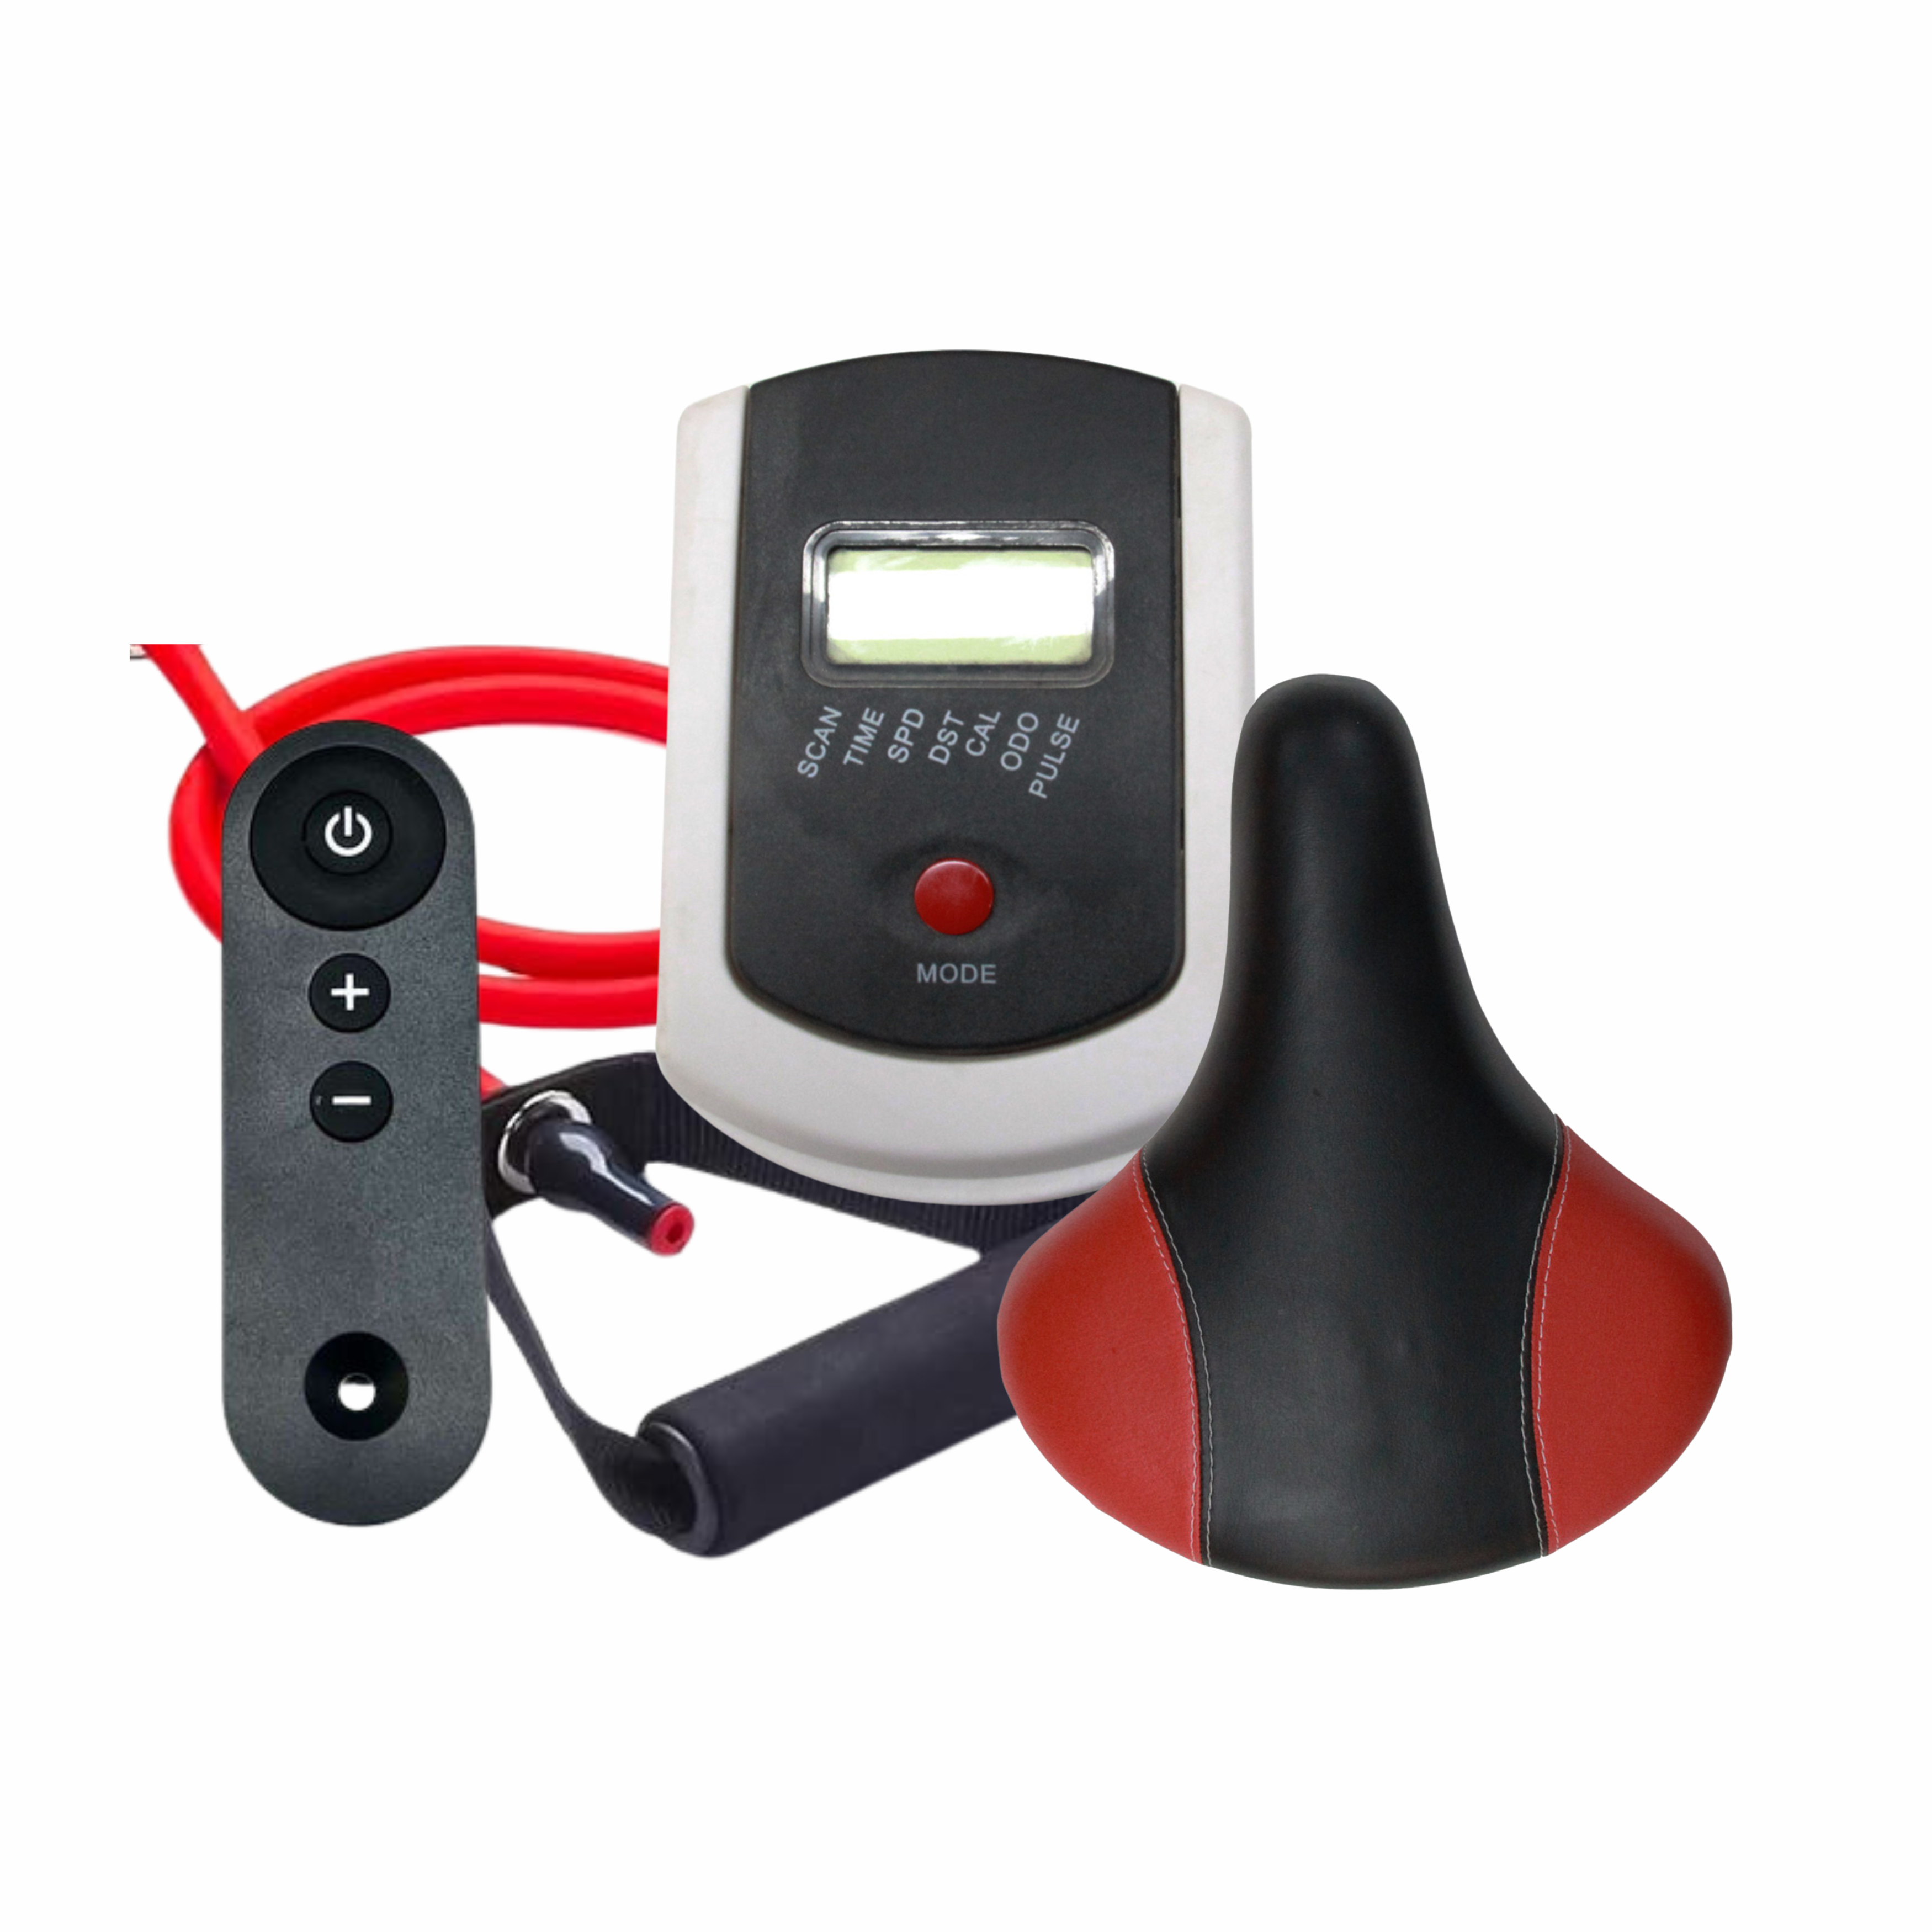
- Once the handrails are in place, align and connect the console. This is typically where the control buttons and digital display are located.
-
Connecting the Console Wiring:
- You will notice wiring inside the handrail and console area that needs to be connected. Make sure these are secured properly so the console can function without interruption.
-
Bolting and Adjustments:
- Tighten all bolts and screws securely to ensure there are no loose parts that could impact your treadmill's stability. Adjust the levelers at the bottom if needed to keep the treadmill stable.
3. Setting Up Power and Safety Key
Now that the treadmill is assembled, it’s time to get it ready to run:
-
Plugging in the Treadmill:
- Use the power adapter provided with your treadmill and plug it into a standard electrical outlet. Make sure the cable is placed in a way that does not pose a tripping hazard.
-
Insert the Safety Key:
- The safety key is an essential part of operating your BIONFIT treadmill. This key must be inserted into the console for the treadmill to start. It also ensures that the treadmill stops immediately if it is pulled out, which is critical for user safety.
4. Initial Calibration and Testing
Before jumping into your first workout, it's important to calibrate and test your treadmill to confirm that everything is functioning properly:
-
Turn On the Treadmill:
- Locate the power switch, usually near the front or side of the base. Flip it on, and you’ll see the console light up.
-
Check Console Settings:
- The console will prompt you to select some initial settings like time, weight, and preferred units (miles or kilometers). Take a moment to familiarize yourself with the buttons and display.
-
Run a Quick Test:
- Set the treadmill to a low speed for a minute or two to make sure everything moves smoothly. Check for any unusual noises or vibrations—if something feels off, recheck the connections and bolts.
5. Adjusting Incline and Speed Settings
BIONFIT treadmills often feature multiple incline and speed settings to enhance your workout. During setup:
-
Test the Incline Feature:
- Press the incline button to test whether the treadmill's incline function is working smoothly. Start with the lowest setting and gradually increase.
-
Speed Test:
- Likewise, test the speed feature to verify that the treadmill speeds up and slows down as expected. Start at a low speed and gradually increase to a comfortable jogging pace.
6. Basic Maintenance Tips Before First Use
Before you start running regularly, a few maintenance steps will keep your BIONFIT treadmill in great condition:
-
Lubricate the Belt:
- Proper lubrication of the treadmill belt ensures smooth operation and extends its lifespan. Your treadmill likely comes pre-lubricated, but it’s good to check and apply more lubricant if recommended in the user manual.
-
Check Belt Alignment:
- Make sure the running belt is centered. If it is leaning to one side, you might need to adjust the roller bolts at the rear of the treadmill. Consult the manual for specific instructions on alignment.
7. Safety First: Using Your BIONFIT Treadmill
For first-time users, safety is key. The safety key mentioned earlier should always be attached to your clothing during a workout. This will ensure that if you trip or fall, the treadmill will automatically stop.
-
Warm-Up and Cool-Down:
- Use the treadmill's pre-set warm-up and cool-down programs to ease into and out of your workouts. This reduces the risk of injury and helps improve your overall fitness results.
8. Troubleshooting Common Issues During Setup
Some common issues you may encounter when setting up a BIONFIT treadmill include:
-
The Console Isn’t Lighting Up:
- Ensure the power adapter is securely connected and the outlet is functioning.
-
Unusual Noises:
- Double-check that all screws and bolts are tightly fastened and that the treadmill is on a level surface.
9. Enjoy Your Workout!
With your BIONFIT treadmill now set up, you’re ready to begin your journey towards a healthier lifestyle. Remember to start with shorter, moderate-intensity sessions if you’re new to treadmill workouts, and gradually increase as your fitness improves.
BIONFIT treadmills are designed to make your home workouts more accessible and enjoyable. Whether you are aiming for weight loss, cardio health, or stress relief, taking the time to set up your treadmill correctly ensures you get the best out of every workout.
Follow us for more updates.

