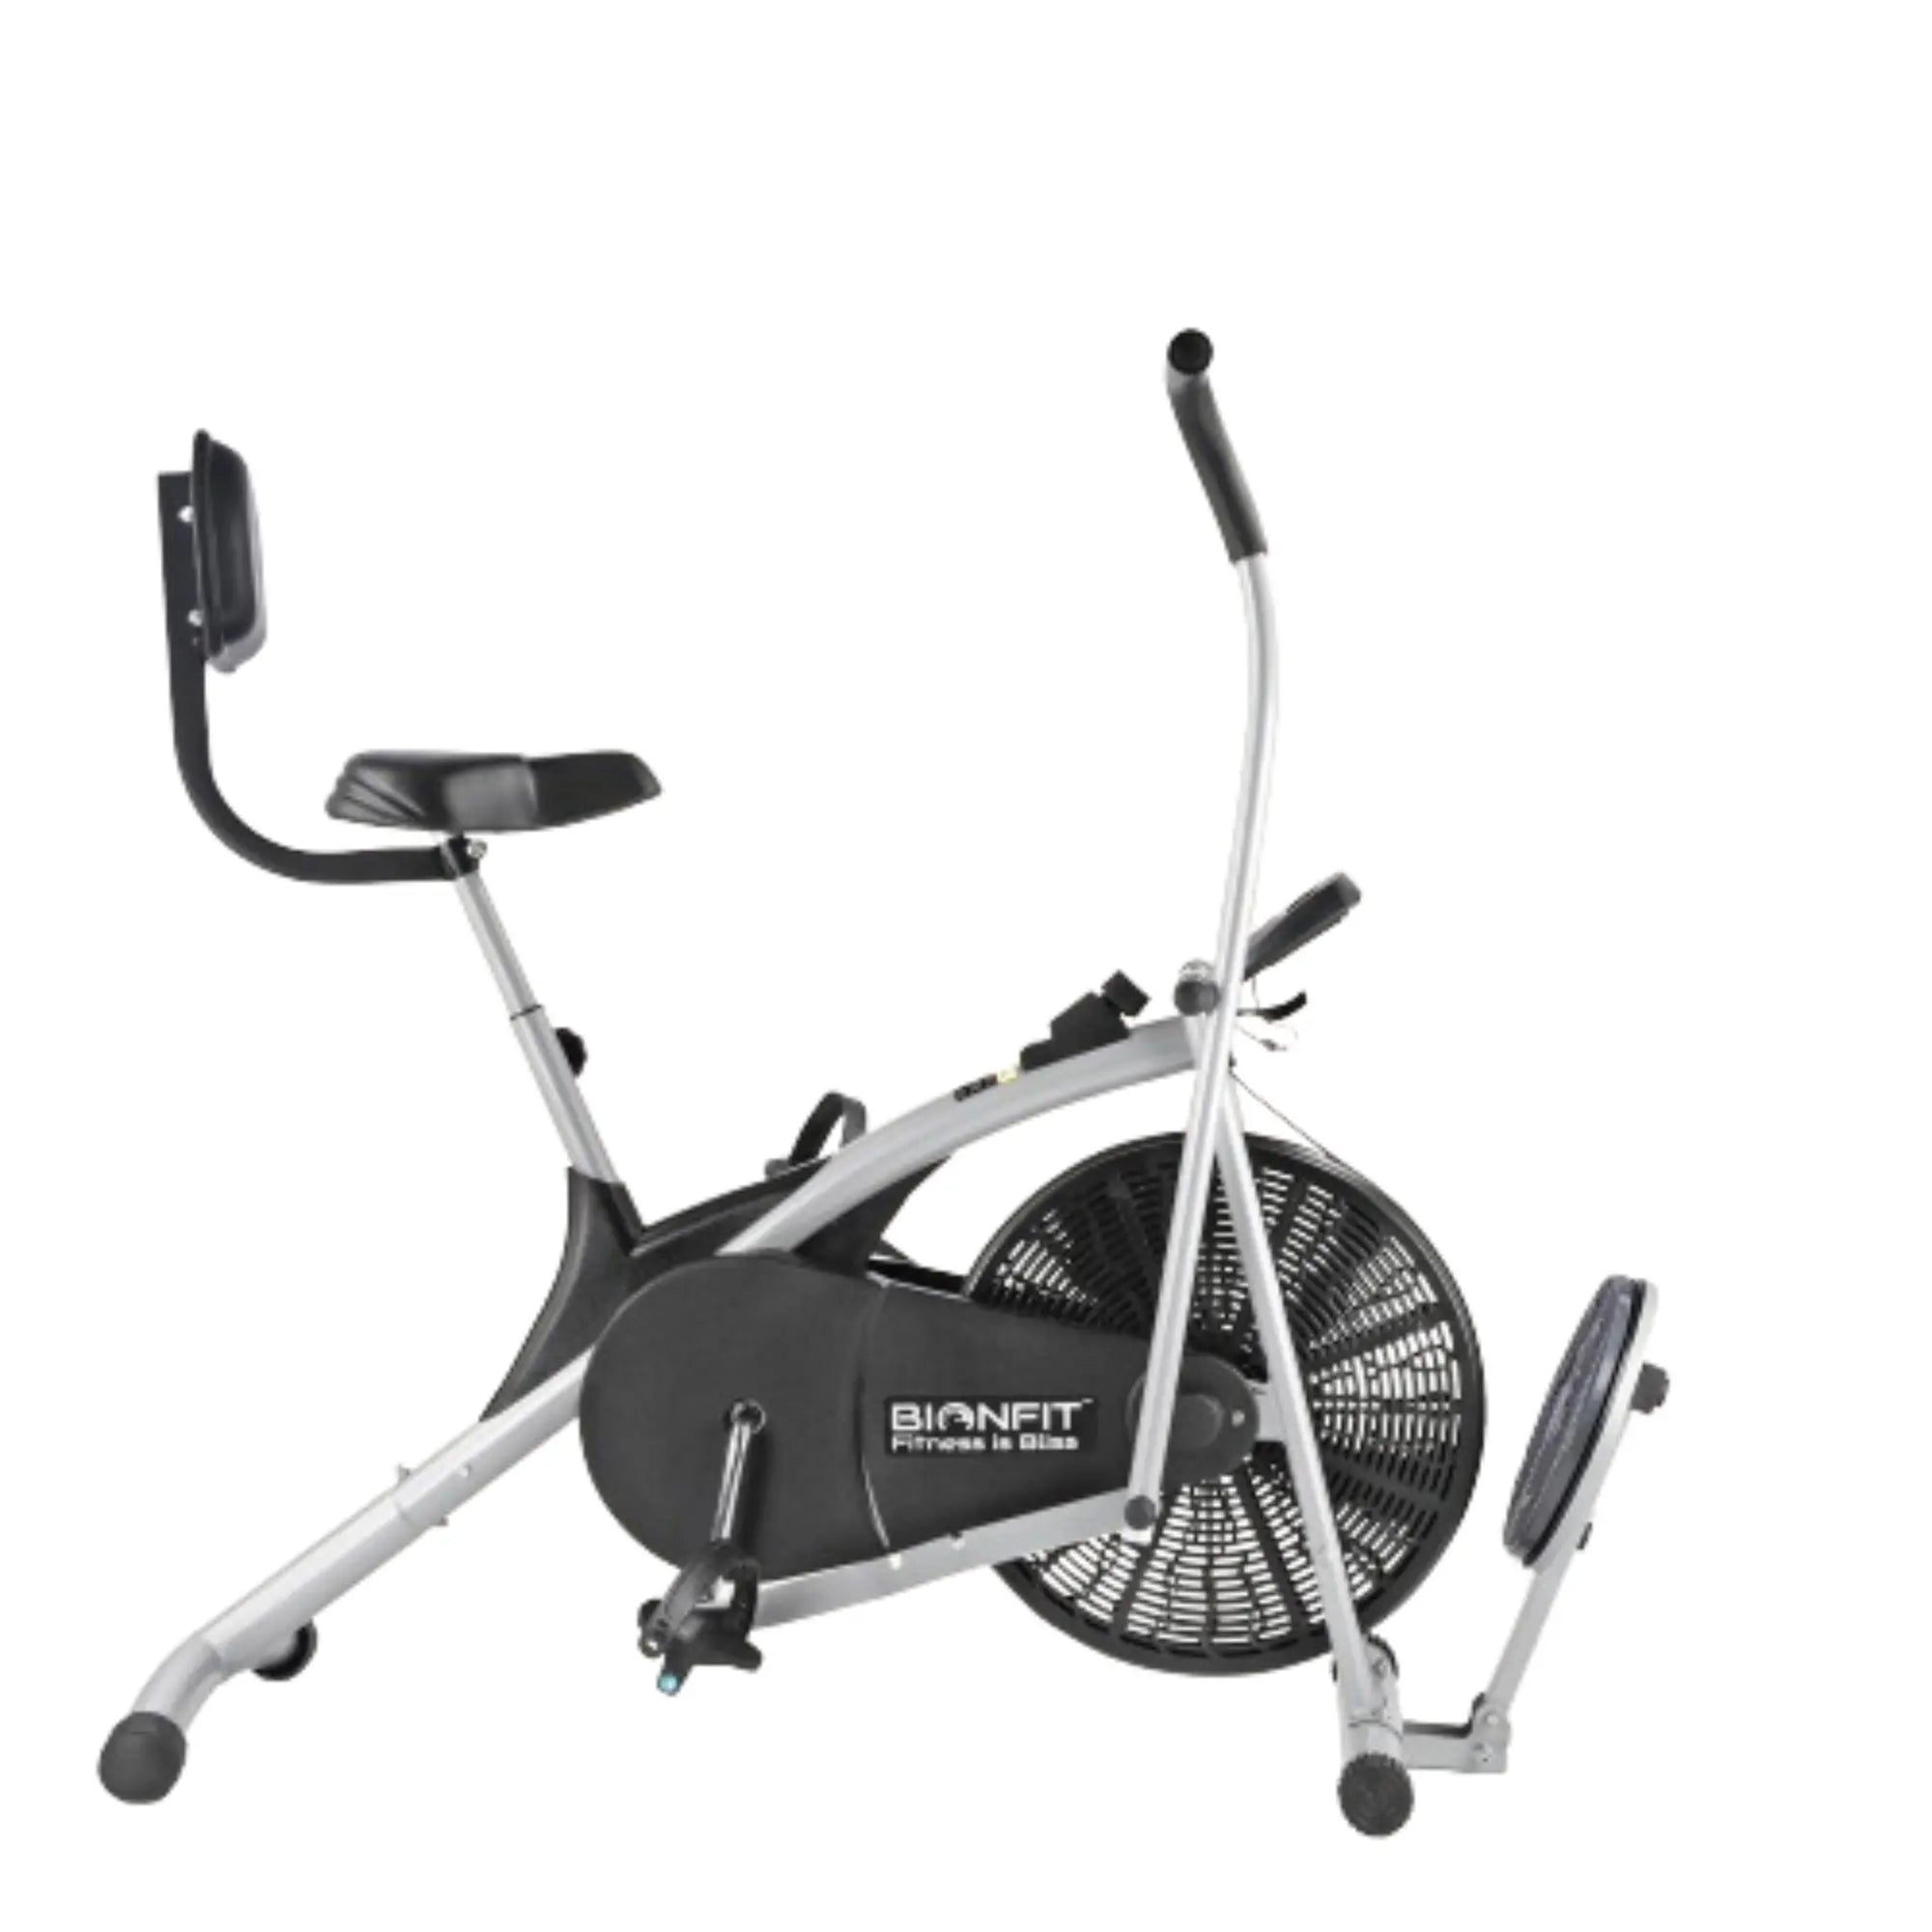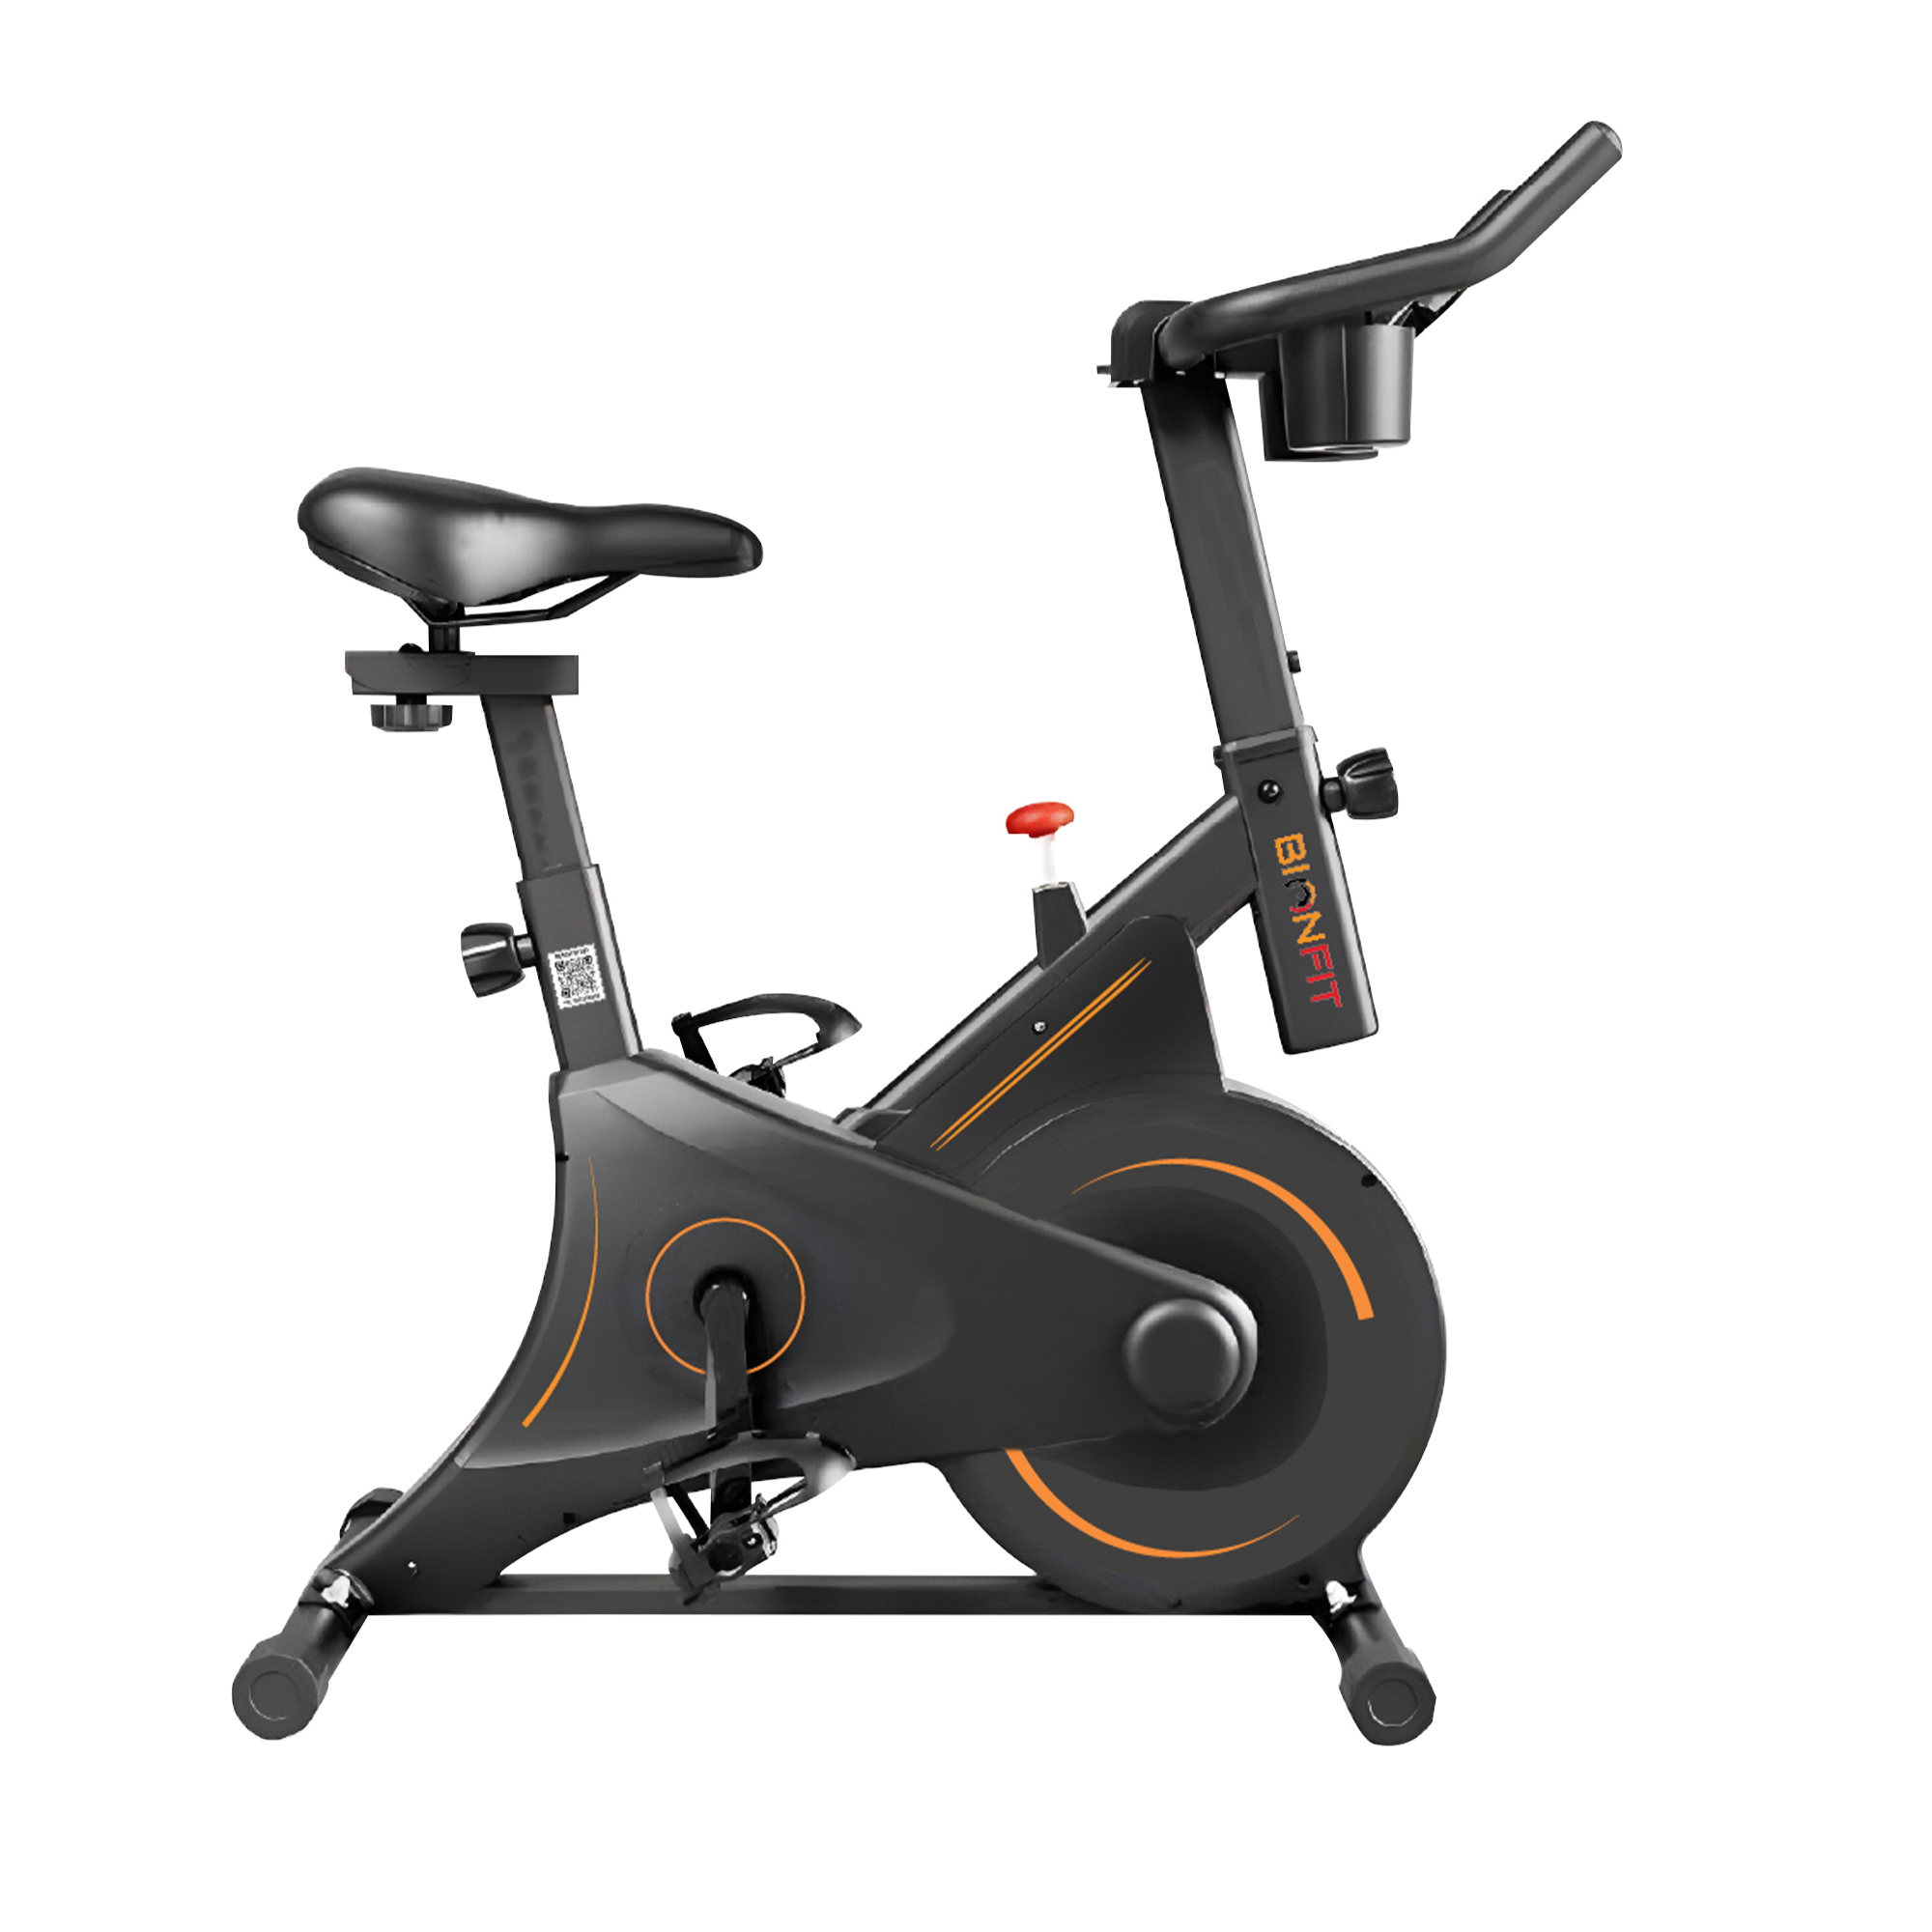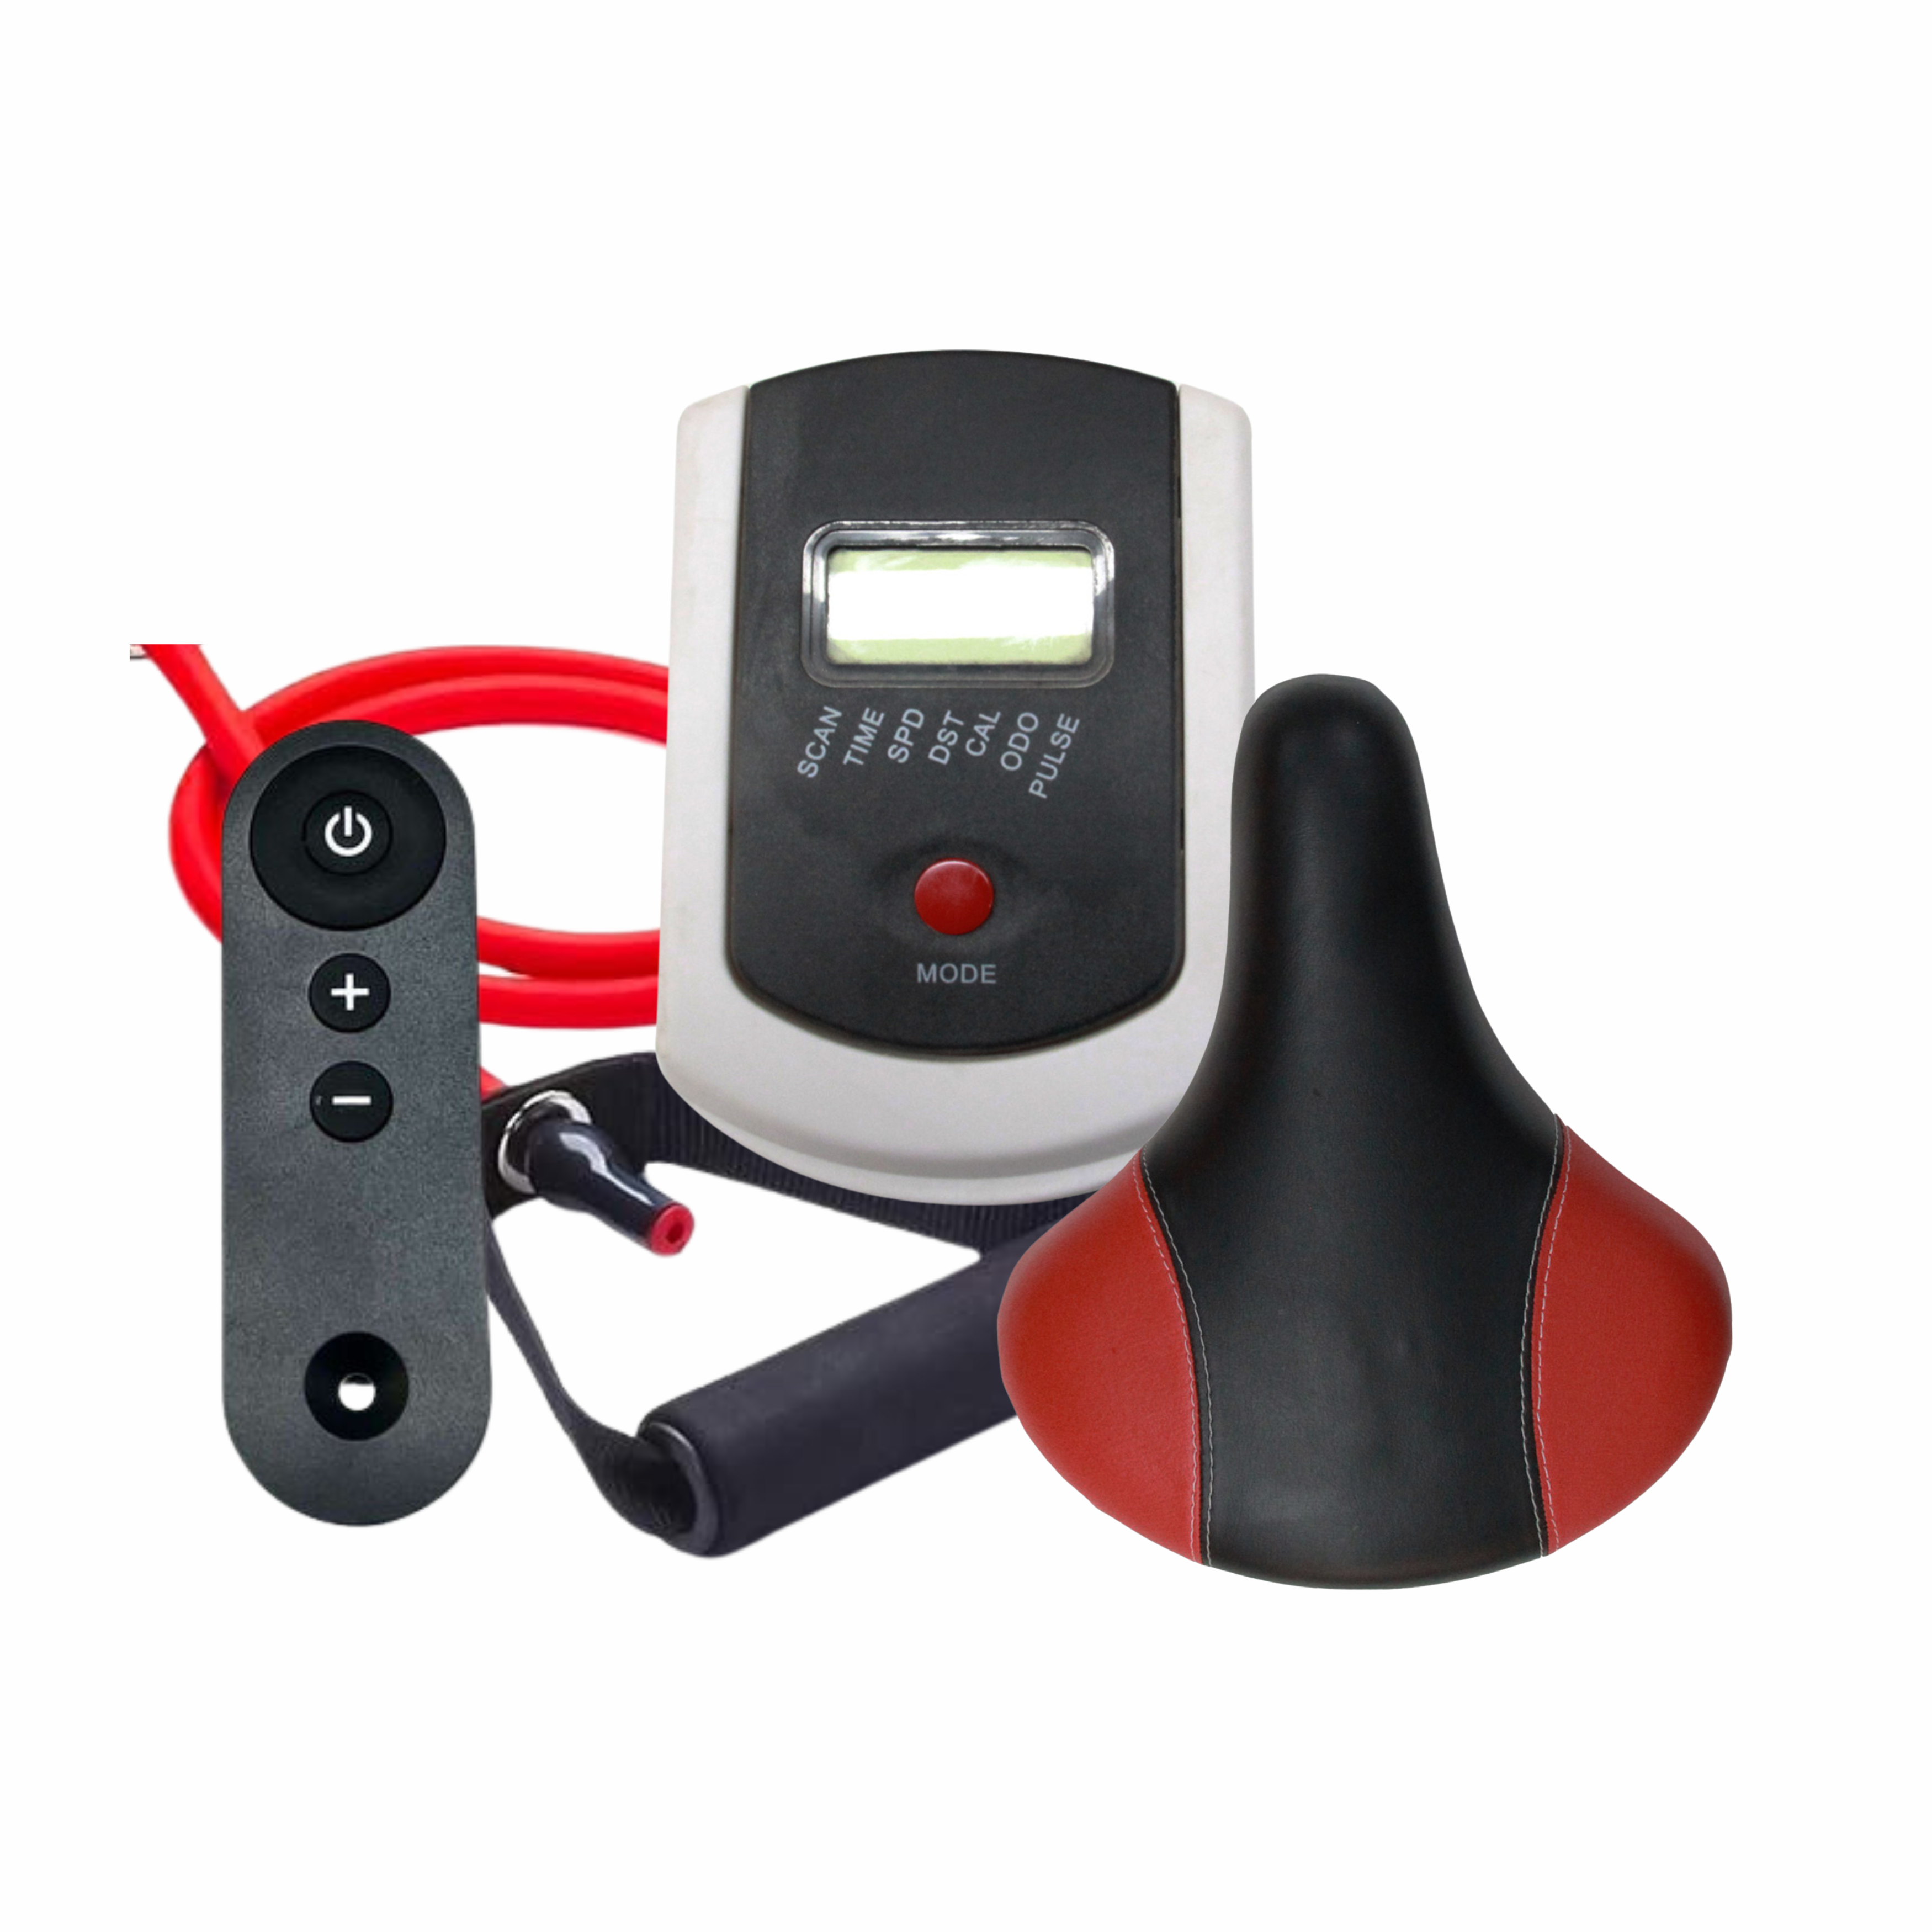
How to Set Up Your BIONFIT Air Bike at Home
Setting up your BIONFIT Air Bike at home is a straightforward process that can enhance your fitness journey without the need for expensive gym memberships. This guide will walk you through each step, ensuring you can get your bike up and running smoothly. Whether you’re a fitness enthusiast or a beginner, assembling your BIONFIT Air Bike will be a breeze with these instructions.
1. Unboxing Your BIONFIT Air Bike
What You’ll Need:
- Scissors or a box cutter
- A clean, spacious area
- A friend to assist (optional)
Steps:
- Step 1: Carefully cut open the box using scissors or a box cutter. Ensure you do this in a spacious area to lay out all parts and avoid losing small components.
- Step 2: Remove all items from the box, including the bike frame, handlebars, pedals, and hardware.
- Step 3: Check the packing list against the parts you’ve unpacked to ensure everything is included. If anything is missing, contact BIONFIT customer service immediately.
2. Assembling the Frame
What You’ll Need:
- The main bike frame
- Wrenches (usually provided in the box)
Steps:
- Step 1: Position the main frame on a flat surface.
- Step 2: Attach the stabilizer bars to the front and rear of the bike using the bolts provided. Tighten the bolts securely using the wrenches.
- Step 3: Make sure the frame is stable and level on the ground before proceeding to the next step.
3. Attaching the Handlebars
What You’ll Need:
- Handlebars
- Bolts and washers
Steps:
- Step 1: Align the handlebars with the mounting bracket on the bike frame.
- Step 2: Insert the bolts through the washers and into the handlebar mounts.
- Step 3: Tighten the bolts securely with the provided wrench, ensuring the handlebars are firmly in place.
4. Installing the Pedals
What You’ll Need:
- Left and right pedals
- A wrench
Steps:
- Step 1: Identify the left and right pedals. Most pedals are labeled, or you can refer to the instruction manual.
- Step 2: Attach the right pedal to the right crank arm, turning it clockwise. Use the wrench to tighten it securely.
- Step 3: Attach the left pedal to the left crank arm, turning it counterclockwise. Again, use the wrench to tighten it securely.
5. Adjusting the Seat and Handlebars
What You’ll Need:
- Allen wrench (if required)
- Seat post and seat
Steps:
- Step 1: Insert the seat post into the frame and secure it at your desired height using the adjustment knob or an Allen wrench.
- Step 2: Slide the seat onto the post and tighten the bolt underneath to secure it.
- Step 3: Adjust the handlebar height by loosening the adjustment knob, raising or lowering the bars to your preference, and then tightening the knob securely.
6. Final Checks and Testing
What You’ll Need:
- A level surface
- Your BIONFIT Air Bike
Steps:
- Step 1: Double-check all bolts and screws to ensure everything is tightened and secure.
- Step 2: Place the bike on a level surface and ensure it doesn’t wobble. If it does, adjust the stabilizer bars as needed.
- Step 3: Test the pedals and handlebars to ensure they move smoothly and without obstruction.
7. Optional Accessories and Enhancements
To get the most out of your BIONFIT Air Bike, consider adding a few accessories:
- Heart Rate Monitor: Track your heart rate for more effective training sessions.
- Water Bottle Holder: Stay hydrated without interrupting your workout.
- Tablet Holder: Stream your favorite shows or follow along with workout videos while you pedal.
8. Maintenance Tips for Longevity
Keeping your BIONFIT Air Bike in top condition will ensure it lasts for years:
- Regular Cleaning: Wipe down the frame, seat, and handlebars after each use to prevent sweat buildup and corrosion.
- Check Bolts Monthly: Ensure all bolts remain tight to avoid any safety hazards.
- Lubricate Moving Parts: Apply a small amount of lubricant to the chain and other moving parts every few months to keep them running smoothly.
9. Troubleshooting Common Issues
Even with proper setup, you may encounter some issues:
- Squeaking Noise: If you hear a squeaking noise, check the pedals and handlebars to ensure they are properly tightened.
- Unstable Frame: If the bike wobbles, adjust the stabilizer bars or ensure the surface is level.
- Resistance Issues: If the resistance feels off, consult your manual or contact BIONFIT customer service for guidance.
Conclusion
Setting up your BIONFIT Air Bike at home doesn’t have to be daunting. By following these step-by-step instructions, you’ll have your bike ready to go in no time, allowing you to focus on what really matters—achieving your fitness goals. Remember to maintain your bike regularly to keep it in optimal condition for years to come.
Follow us for more updates.

