How to Warm Up and Cool Down with an Air Bike for Injury Prevention
When it comes to injury prevention, proper warm-ups and cool-downs are critical, especially when using equipment like an air bike. Whether you are a fitness enthusiast, a professional athlete, or someone recovering from an injury, incorporating these practices into your routine can make all the difference in your performance and overall well-being.
In this guide, we’ll walk you through how to effectively warm up and cool down using an air bike, explain why these steps matter for injury prevention, and offer some helpful tips for getting the most out of your air bike sessions.
Why Are Warm-Ups and Cool-Downs Important for Injury Prevention?
Before jumping into the specifics of warming up and cooling down, it's important to understand why these processes are vital:
- Improved Blood Circulation: A good warm-up gradually increases heart rate and boosts blood flow to muscles, making them more flexible and less prone to injury.
- Enhanced Muscle Activation: Proper warm-ups help activate the right muscle groups, which improves coordination and balance during your workout.
- Reduced Muscle Soreness: Cooling down helps flush out lactic acid and other metabolic waste products, reducing post-exercise muscle soreness and stiffness.
- Better Range of Motion: Stretching and gentle movements during cool-downs maintain muscle flexibility, improving your overall range of motion.
How to Warm Up on an Air Bike
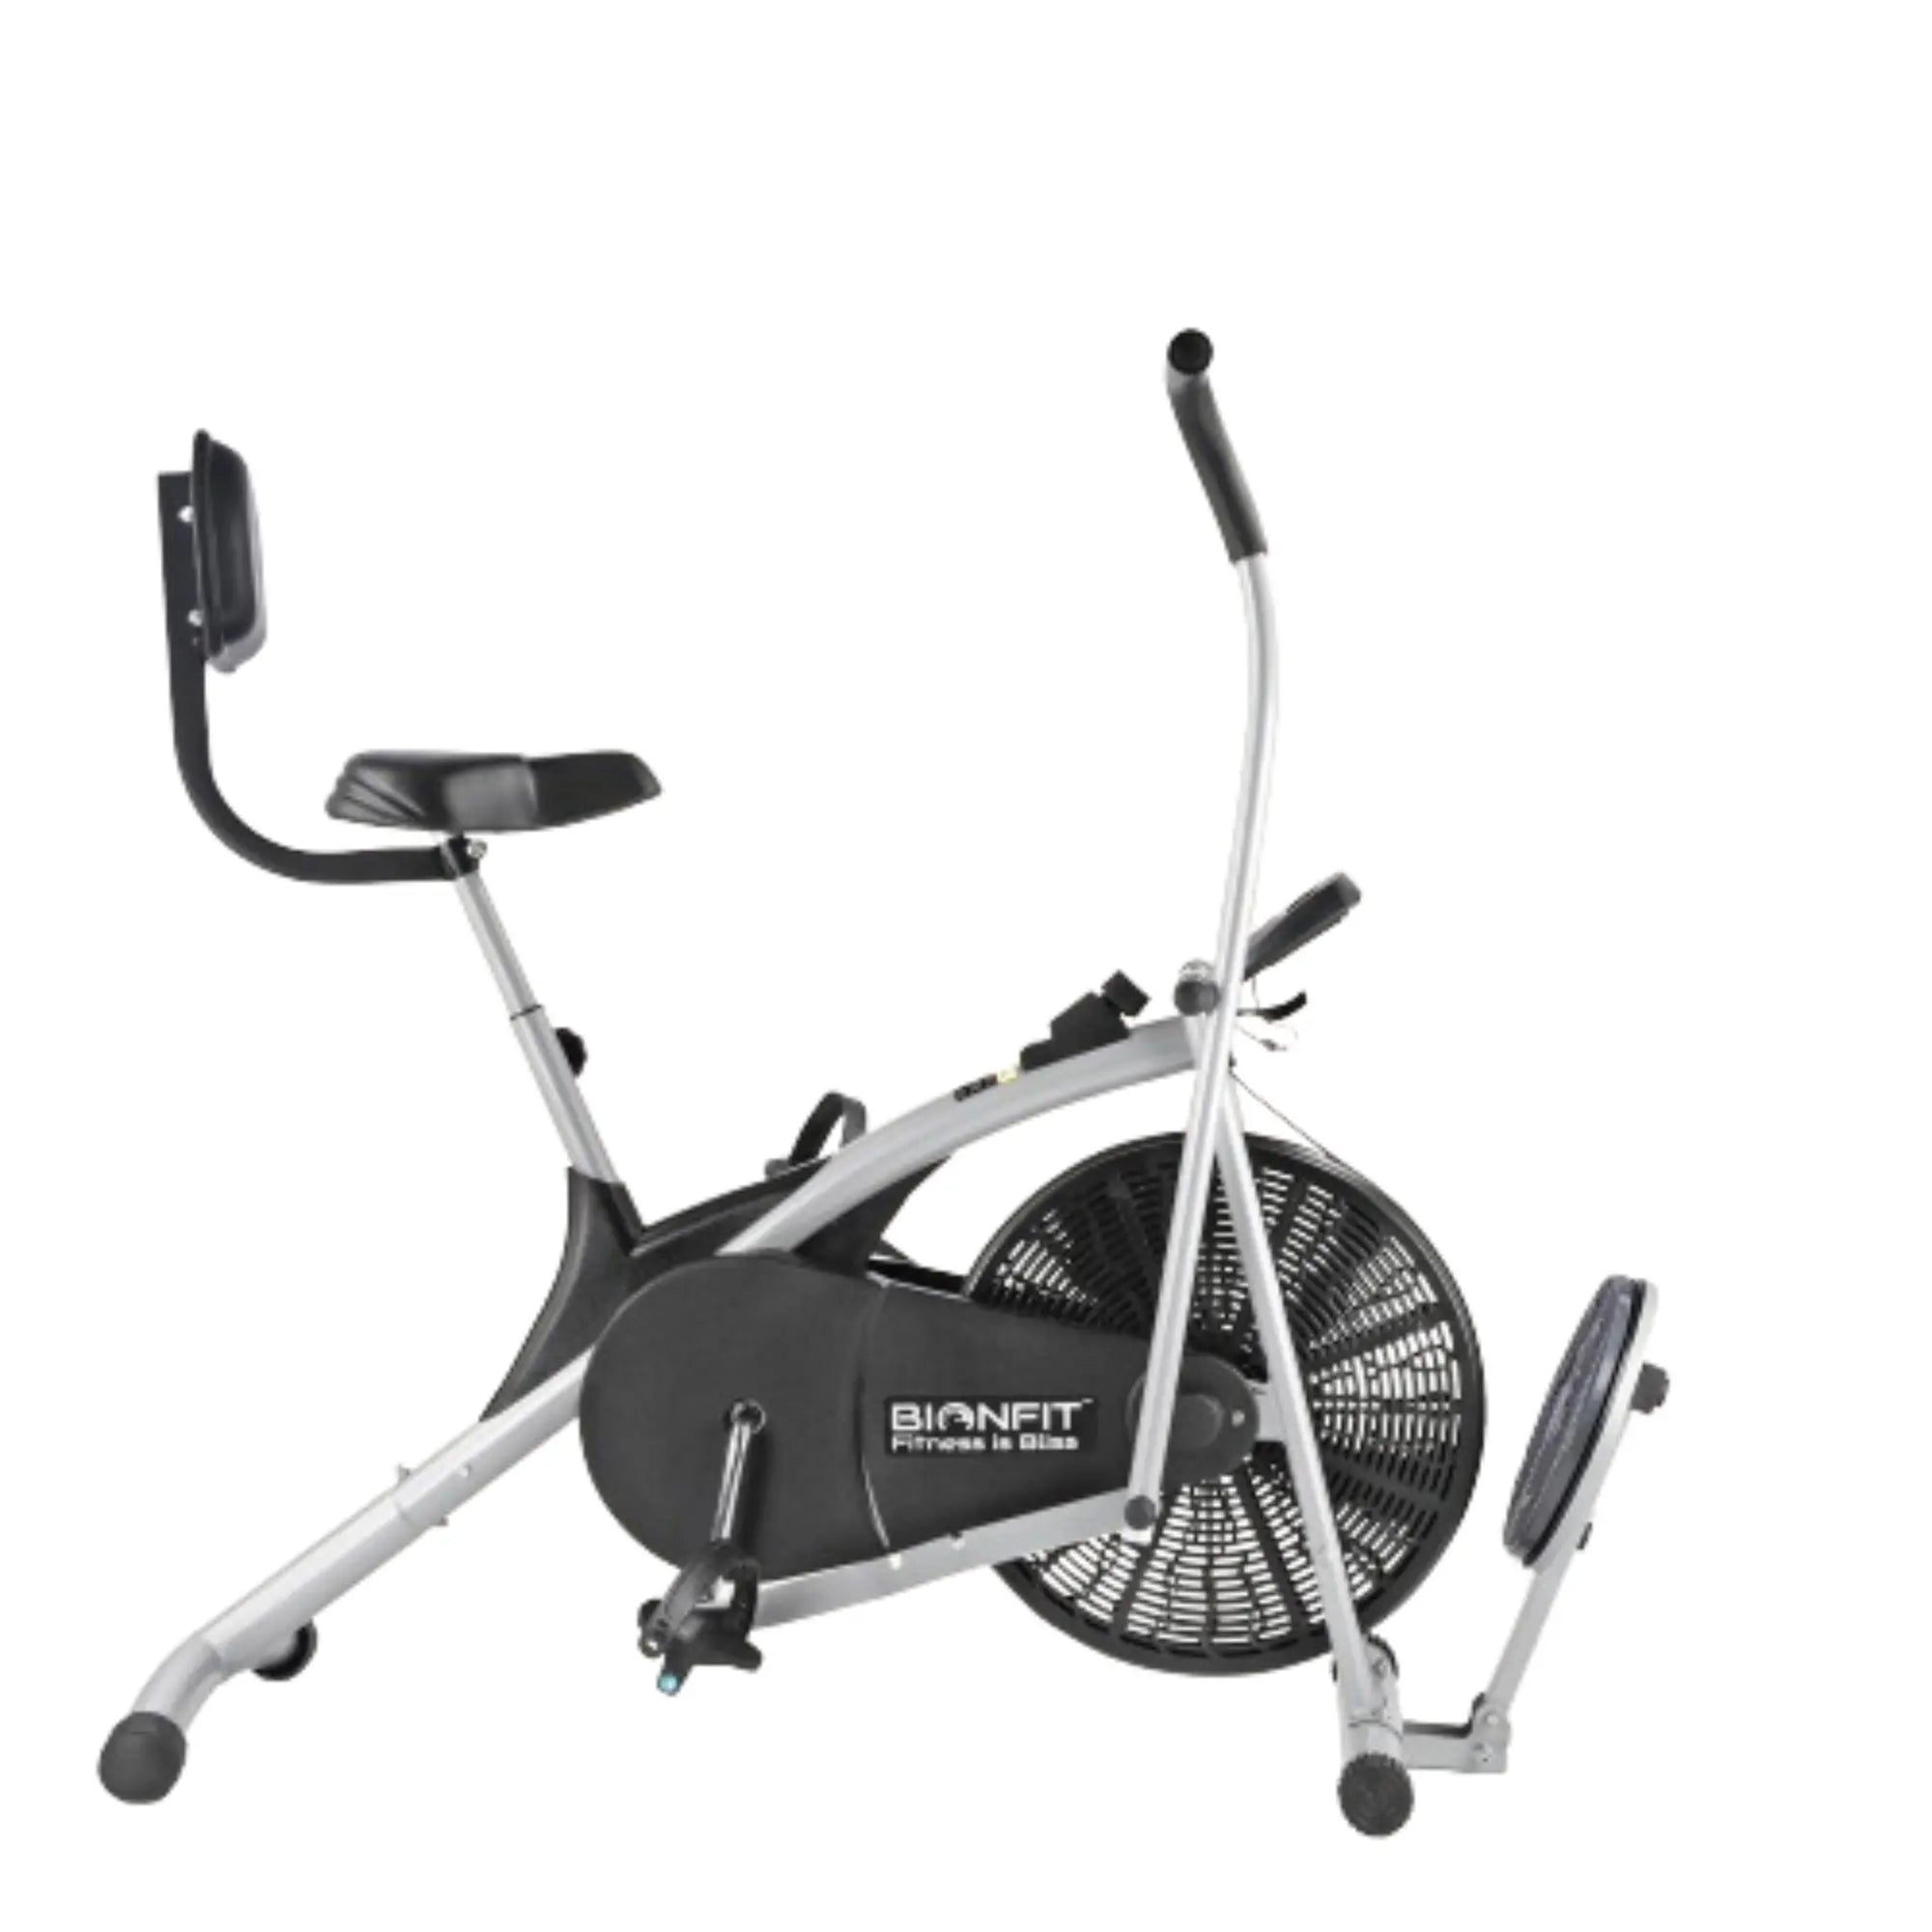
The air bike, also known as a fan bike, is an excellent piece of equipment for warming up because it engages both the upper and lower body simultaneously. Here’s a step-by-step guide on how to warm up with an air bike for optimal injury prevention:
1. Start with Gentle Pacing (2-3 minutes)
Begin by cycling at a slow and steady pace. The goal is to gradually elevate your heart rate and body temperature without over-exerting yourself.
- Pace: Keep the RPM (revolutions per minute) low, around 40-50% of your maximum effort.
- Breathing: Focus on controlled, deep breaths to increase oxygen intake.
2. Increase Intensity Gradually (3-5 minutes)
After the initial easy pace, start picking up speed. Increase your cycling effort incrementally every minute.
- Pace: Bump up your RPM to 60-70%, depending on your fitness level.
- Duration: Keep this phase between 3 and 5 minutes, gradually ramping up until you feel your heart rate rising.
3. Activate Upper Body with Hand Grips (2 minutes)
Many people overlook the air bike’s hand grips, which are great for warming up the upper body. Add arm movements by pushing and pulling the grips in tandem with your cycling.
- Arm Movements: Focus on synchronized movements, using your shoulders, triceps, and biceps.
- Intensity: Maintain a moderate pace, keeping your arms engaged throughout.
4. Incorporate Intervals (1-2 minutes)
To further prime your muscles, throw in a few short intervals at the end of your warm-up.
- Sprint Intervals: Push your RPM to around 80-90% for 15-20 seconds.
- Rest Periods: Slow down for 30 seconds to allow your heart rate to recover slightly.
This structured warm-up should take about 8-12 minutes, making sure your body is fully prepared for an intense workout without risking injury.
How to Cool Down on an Air Bike
Cooling down is just as important as warming up. After an intense session on the air bike, your muscles are filled with lactic acid and other waste products that need to be flushed out. Here’s how to cool down properly using an air bike:
1. Slow Your Pace Gradually (3-5 minutes)
As soon as you finish your workout, start slowing down your cycling speed to a comfortable pace.
- Pace: Reduce your RPM to 40-50%, enough to keep your legs moving but at a relaxed intensity.
- Breathing: Focus on deep, slow breaths to bring your heart rate back to normal.
2. Focus on Steady Arm Movements (2-3 minutes)
While cooling down, keep your arms engaged but in a controlled and smooth manner.
- Arm Engagement: Lightly push and pull the hand grips, using this movement to stretch out your shoulders, chest, and arms.
- Pacing: Maintain an easy cycling rhythm while allowing your upper body to release tension.
3. Stretching Off the Bike (5 minutes)
Once your heart rate is back to normal, step off the air bike and perform some gentle static stretching.
- Hamstrings: Stretch one leg at a time by leaning forward with your legs straight.
- Quadriceps: Pull one leg back, grabbing your foot with your hand, and stretch the front of your thigh.
- Shoulders: Cross one arm over your chest and gently pull it with the other arm.
This cool-down sequence will help prevent muscle stiffness and soreness, ensuring faster recovery after each workout.
Tips for Getting the Most Out of Your Air Bike Warm-Up and Cool-Down
- Consistency is Key: Always dedicate 8-10 minutes to both warming up and cooling down. Skipping these steps can increase your risk of injury.
- Hydrate Properly: Drink water before, during, and after your air bike sessions to keep your muscles hydrated and functioning optimally.
- Listen to Your Body: If you feel discomfort or tightness during your warm-up, slow down and focus on lighter movements until you’re ready for more intensity.
FAQs
1. How long should my warm-up on an air bike be?
Your warm-up should last around 8-12 minutes, gradually increasing in intensity. This prepares your muscles and cardiovascular system for the workout ahead.
2. Can I use an air bike for recovery after an injury?
Yes, air bikes are great for low-impact cardio workouts, making them ideal for recovery. Consult with a physical therapist to ensure you're using it appropriately based on your injury.
3. How often should I stretch after using the air bike?
Stretch after every workout to maintain flexibility and prevent muscle stiffness. Stretching for at least 5-7 minutes post-session is recommended.
4. What should I do if I feel pain during my warm-up or cool-down?
If you experience sharp or unusual pain, stop immediately. It’s important to differentiate between discomfort from exertion and actual pain, which may signal an injury.
5. Is an air bike good for total body workouts?
Absolutely! The air bike engages both the upper and lower body, providing an excellent full-body cardio workout that also helps build endurance.
Conclusion
Warming up and cooling down are essential parts of any air bike routine, and these steps are key to preventing injuries and optimizing your performance. The air bike, with its unique ability to engage both the upper and lower body, makes it an ideal tool for a comprehensive warm-up and cool-down.
By incorporating these practices into your fitness regimen, you’ll be able to push harder during your workouts and recover more effectively afterward, all while reducing the risk of injury.
Follow us for more updates.

