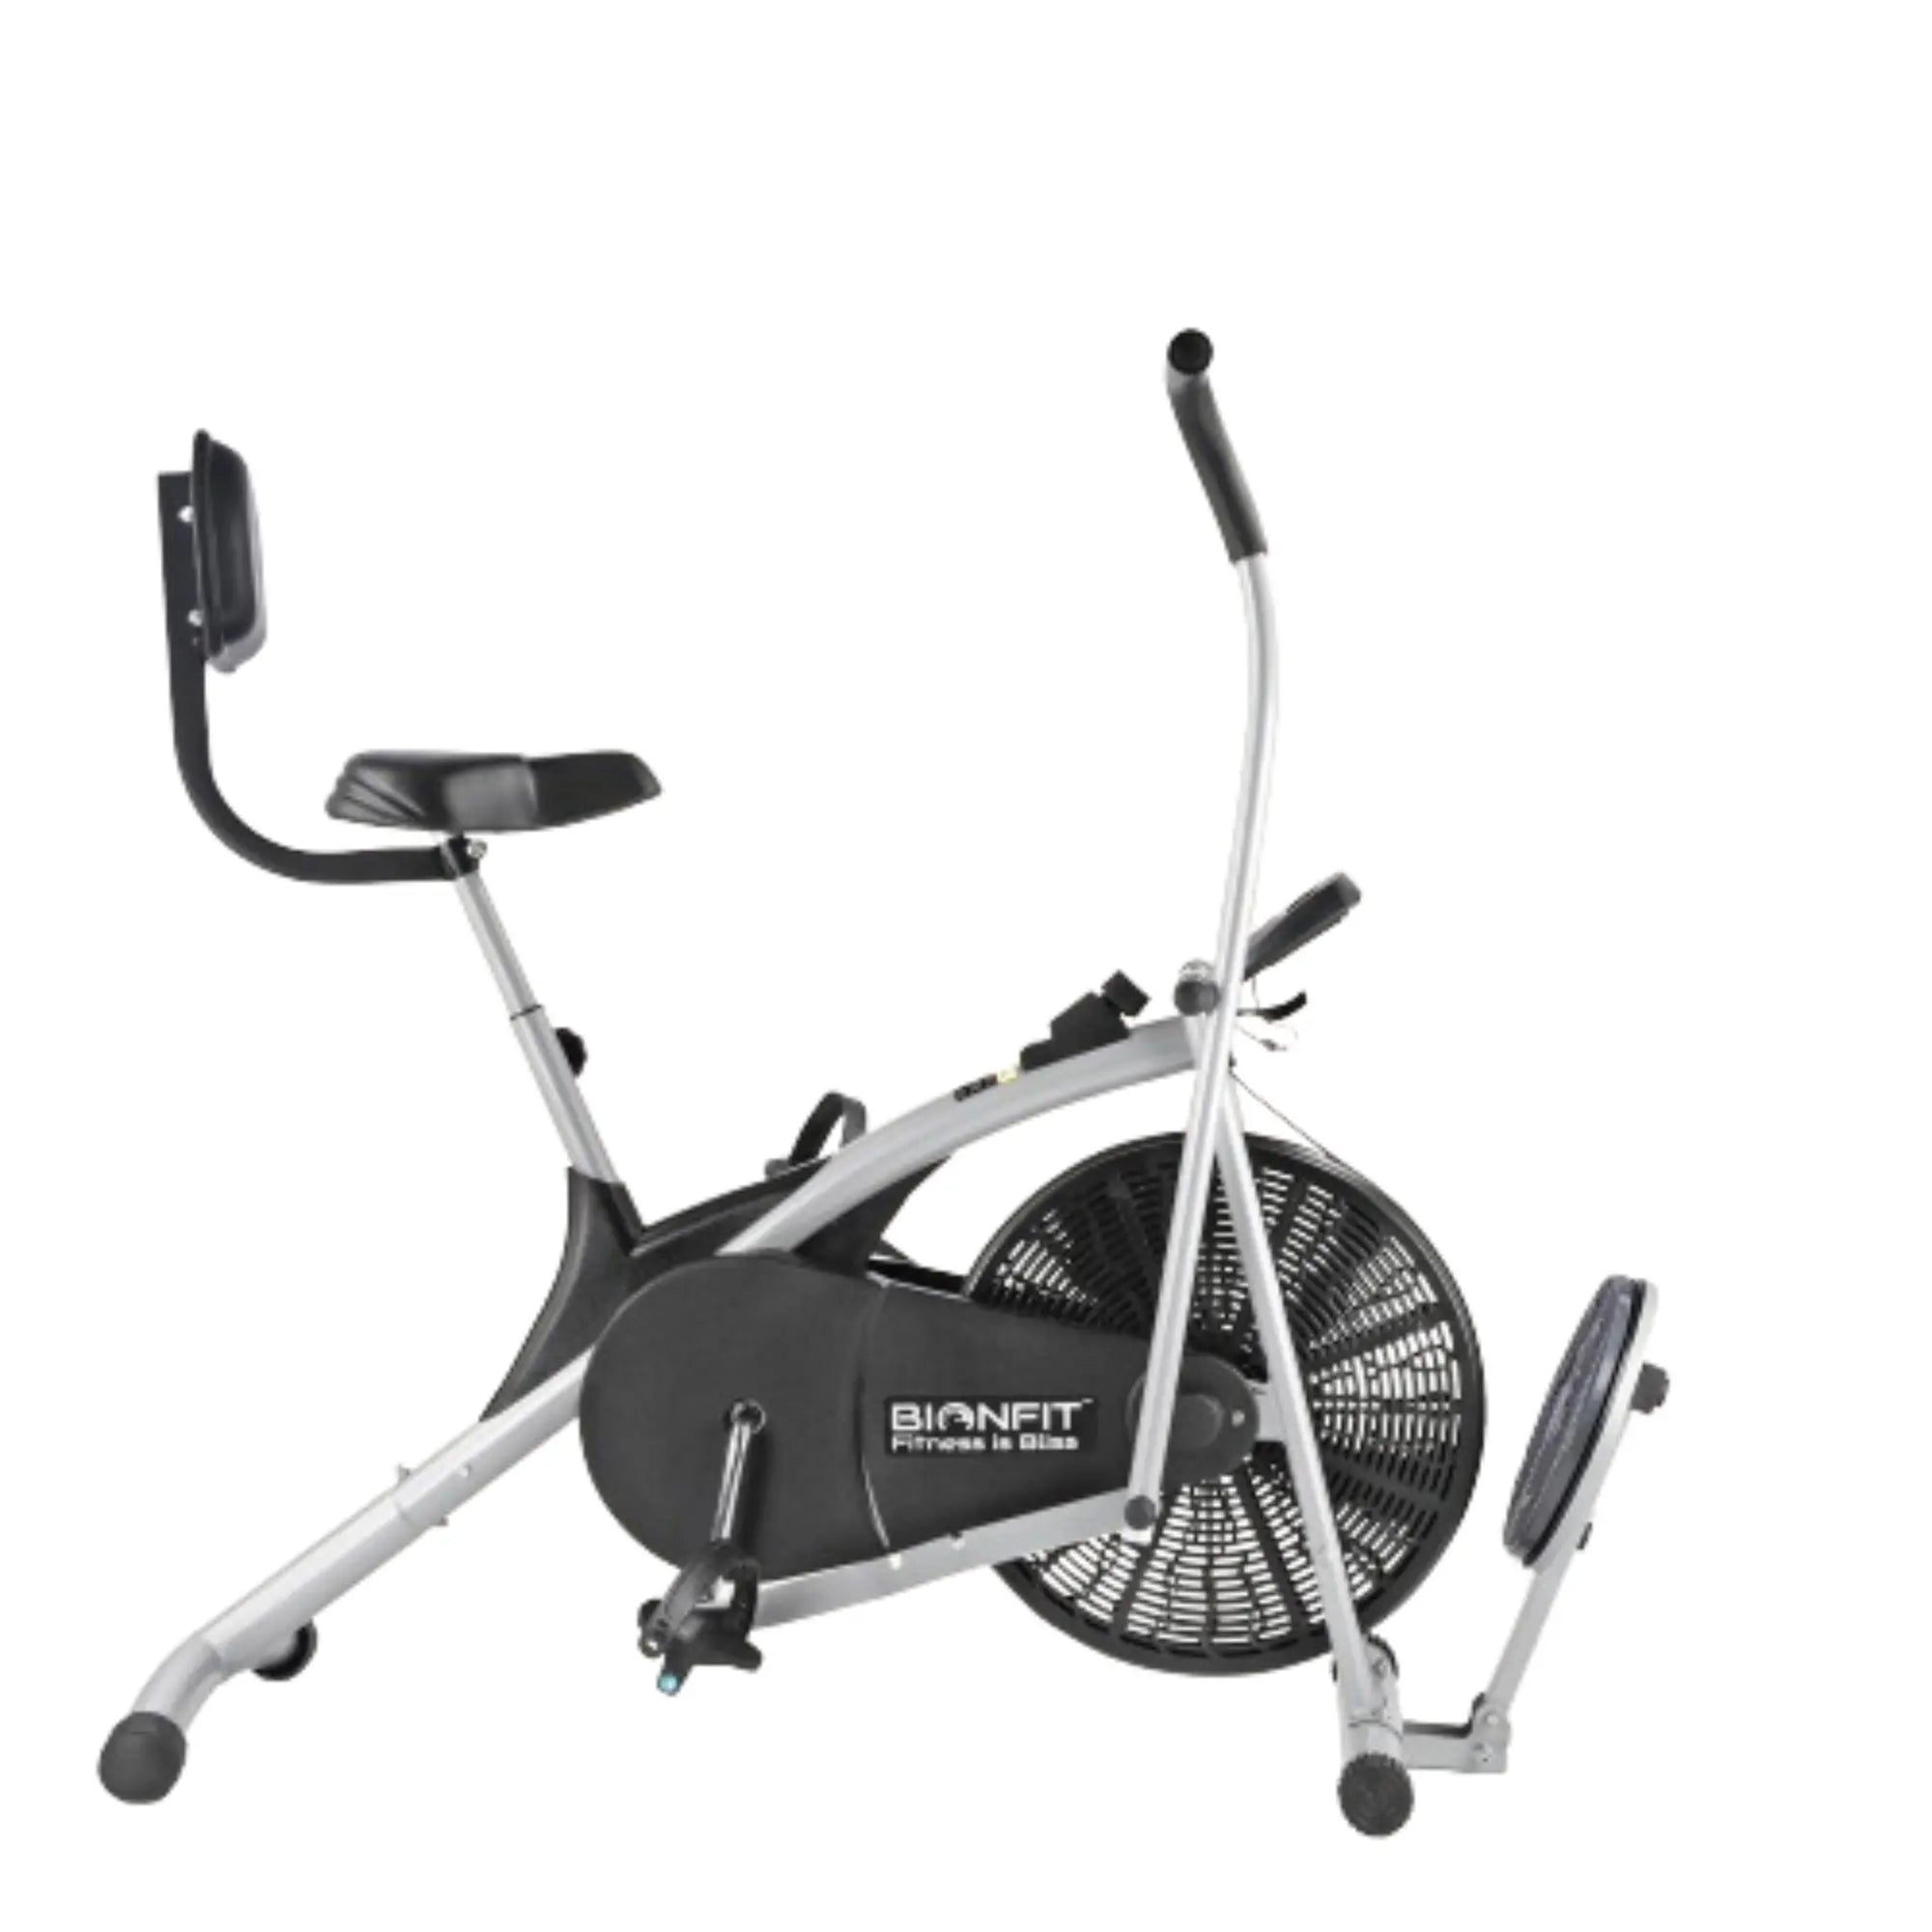


How to adjust airbike pedal straps?
Are you getting the most out of your airbike workouts? Whether you're a seasoned athlete or just starting your fitness journey, one often overlooked aspect of airbike maintenance is the adjustment of pedal straps. Properly adjusted pedal straps not only enhance your performance but also reduce the risk of injuries. In this guide, we'll walk you through the process of adjusting your airbike pedal straps step by step.
Importance of Proper Adjustment
Preventing Injuries
Incorrectly adjusted pedal straps can lead to discomfort or even injury during your workout. If the straps are too tight, they can restrict blood flow and cause numbness or cramping in your feet. On the other hand, loose straps may not provide enough support, leading to instability and potential falls.
Enhancing Workout Effectiveness
Properly adjusted pedal straps allow you to maximize the efficiency of your pedal strokes. With secure foot placement, you can exert more power with each revolution, resulting in a more effective workout and better overall performance.
Understanding Your Airbike Pedal Straps
Before you begin adjusting your pedal straps, it's essential to understand their basic components and variations.
Components of Pedal Straps
Airbike pedal straps typically consist of a strap, buckle, and attachment mechanism. The strap wraps around the foot, while the buckle allows for adjustment and secure fastening. The attachment mechanism connects the strap to the pedal itself.
Different Types of Straps
There are various types of pedal straps available, including nylon, Velcro, and toe cages. Each type has its own advantages and may require slightly different adjustment techniques.
Step-by-Step Guide to Adjusting Airbike Pedal Straps
1. Checking the Current Adjustment
Start by sitting on your airbike and placing your feet in the pedals. Check the current adjustment of the straps to determine if they need to be loosened or tightened.
2. Loosening the Straps
If the straps are too tight, locate the buckle or adjustment mechanism and loosen it until you can comfortably insert your foot.
3. Adjusting Strap Length
Once the straps are loosened, adjust the length to fit your foot snugly. Make sure there is enough room for movement without being too loose.
4. Ensuring Proper Alignment
Position your feet so that they are centered on the pedals with the balls of your feet over the axle. This alignment maximizes power transfer and minimizes strain on your ankles and knees.
5. Tightening the Straps Securely
Once your feet are properly positioned, tighten the straps securely to prevent slippage during your workout. Ensure that the straps are snug but not overly tight, allowing for comfortable circulation.
Tips for Maintenance
Regular Checks
Make it a habit to inspect your pedal straps regularly for signs of wear and tear. Replace any damaged or worn-out straps promptly to maintain optimal performance and safety.
Cleaning and Lubrication
Keep your pedal straps clean and free of debris to prevent premature deterioration. Lubricate any moving parts, such as buckles or attachment mechanisms, to ensure smooth operation.
Common Mistakes to Avoid
Over-Tightening
Avoid tightening the straps too much, as this can restrict blood flow and cause discomfort or numbness in your feet.
Ignoring Wear and Tear
Don't overlook signs of wear and tear on your pedal straps. Replace them as needed to prevent accidents or injuries during your workouts.
Incorrect Alignment
Ensure that your feet are properly aligned on the pedals to prevent strain on your joints and maximize power transfer.
Benefits of Properly Adjusted Pedal Straps
Improved Stability
Properly adjusted pedal straps provide stability and support during your workouts, allowing you to pedal more efficiently and with greater control.
Increased Power Transfer
With secure foot placement, you can transfer more power from your legs to the pedals, resulting in faster speeds and more intense workouts.
Enhanced Comfort
By eliminating slippage and discomfort, properly adjusted pedal straps make your airbike workouts more enjoyable and effective.
Conclusion
Adjusting your airbike pedal straps may seem like a minor detail, but it can make a significant difference in your workout experience. By following the steps outlined in this guide, you can ensure that your pedal straps are properly adjusted for maximum comfort, performance, and safety. Don't overlook this essential aspect of airbike maintenance—your feet will thank you!
FAQs
How often should I check my pedal straps for wear and tear?
- It's a good idea to inspect your pedal straps before each workout for any signs of damage or deterioration.
Can I use any type of pedal straps with my airbike?
- While most pedal straps are compatible with airbikes, it's essential to choose straps that are designed specifically for your model to ensure a proper fit and optimal performance.
What should I do if my pedal straps keep slipping during my workouts?
- Try readjusting the straps to ensure they are snug but not too tight. If slippage persists, consider replacing the straps or consulting with a professional for further assistance.
Are there any special maintenance tips for Velcro pedal straps?
- To prolong the life of Velcro pedal straps, avoid exposing them to excessive moisture or dirt, as this can weaken the adhesive over time. Clean them regularly with a mild detergent and allow them to air dry thoroughly.
Is it normal for my feet to feel numb during workouts, even with properly adjusted pedal straps?
- If you experience numbness or discomfort in your feet during workouts, it may be a sign of poor circulation or improper bike setup. Consult with a fitness professional or healthcare provider to address any underlying issues and ensure proper bike ergonomics.
Follow us for more updates.