

How to adjust airbike handlebar height?
1. Introduction
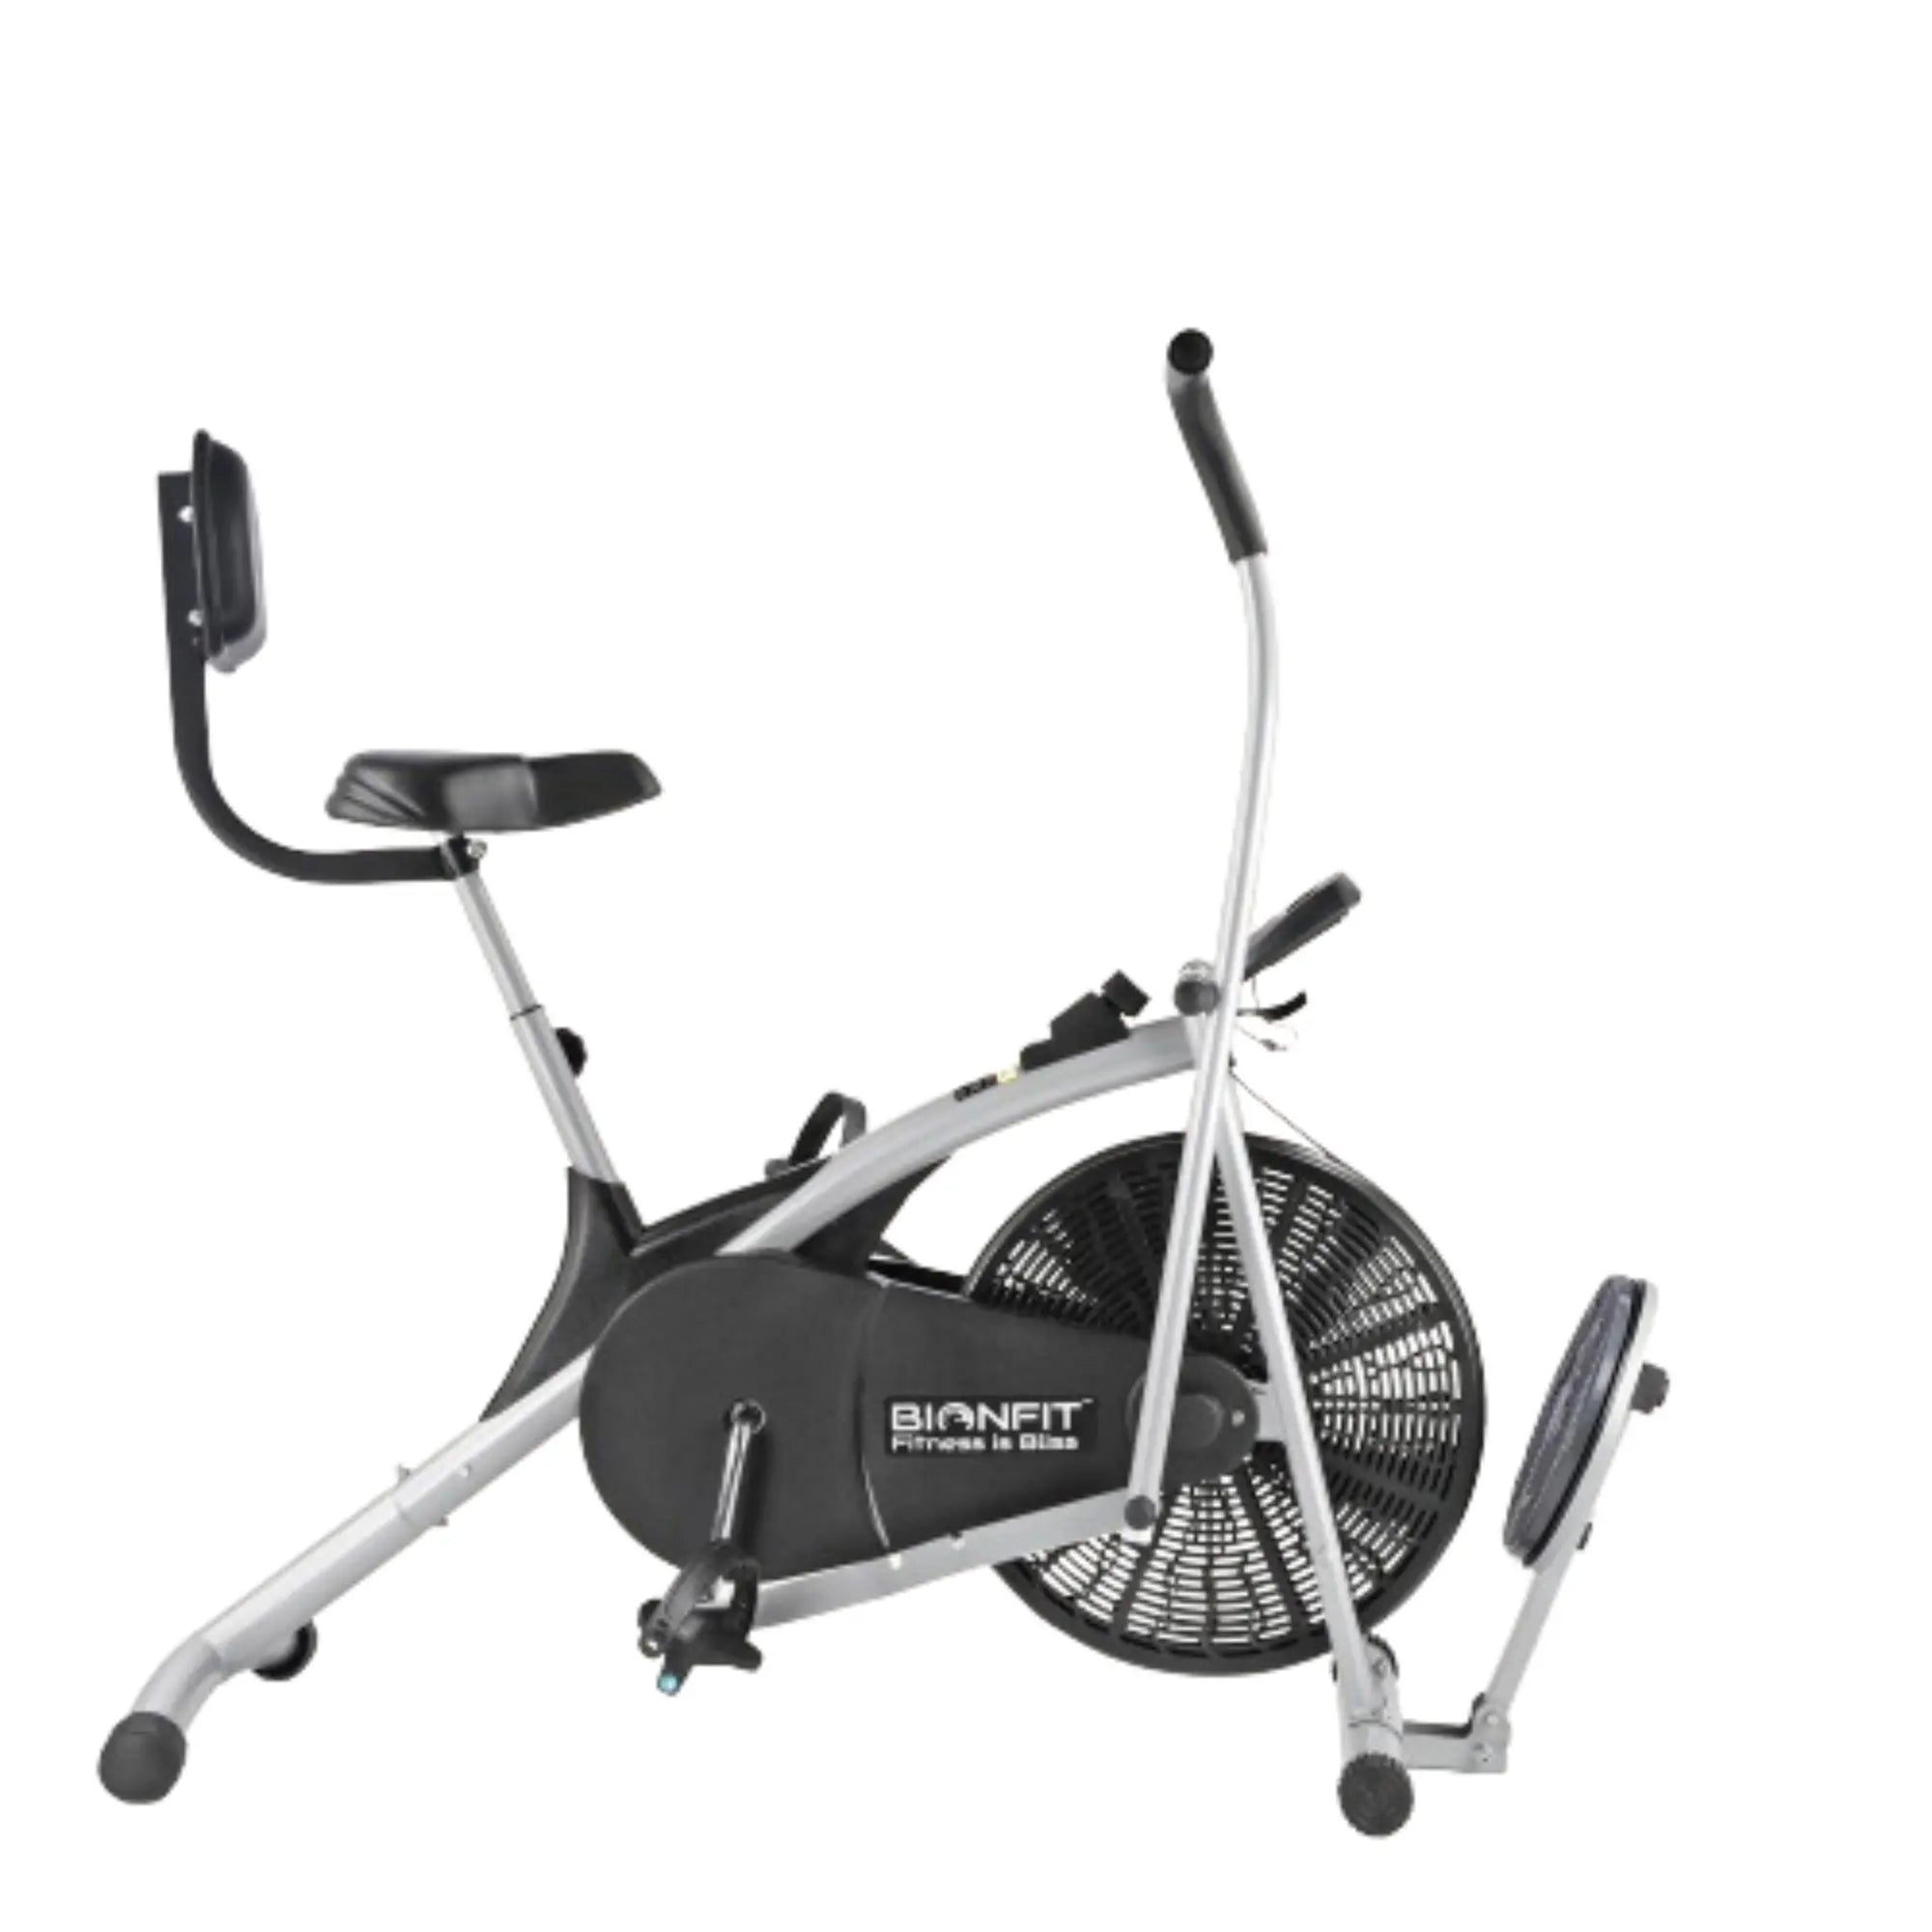
Adjusting the handlebar height of your airbike is a crucial step in ensuring optimal comfort, performance, and safety during your rides. Whether you're a seasoned cyclist or a beginner, understanding how to properly adjust your handlebars can make a significant difference in your biking experience. In this guide, we'll walk you through the step-by-step process of adjusting your airbike handlebar height for a personalized and comfortable fit.
2. Why Does Handlebar Height Matter?
Balance and Comfort
Think of your bike's handlebar like the steering wheel of a car. If it's too low or too high, it's like trying to drive with your arms stretched out or scrunched up. Not fun, right? Adjusting the handlebar height helps you find the perfect balance and makes your ride super comfy!
3. What Tools Do You Need?
Gathering Your Materials
Don't worry, kiddo! You won't need a fancy toolbox for this adventure. Just grab a trusty wrench and you're good to go!
4. Let's Get Started!
Step-by-Step Guide
Step 1: Find Your Perfect Height
Stand next to your airbike and hold onto the handlebar. Make sure you're standing up straight and comfortable. Your arms should be slightly bent, not stretched out or squished in.
Step 2: Loosen the Clamp
Now, let's get those muscles moving! Use your wrench to loosen the clamp that holds the handlebar in place. It's like giving your handlebar a little wiggle room to adjust.
Step 3: Adjust the Height
Time to work some magic! Gently raise or lower the handlebar until it's at the perfect height for you. Remember, you want it to feel just right, like Goldilocks finding the perfect porridge!
Step 4: Tighten the Clamp
Hold onto your hats, we're almost done! Once the handlebar is at the perfect height, tighten the clamp back up with your wrench. This will keep it secure and ready for your next adventure!
5. Common Mistakes to Avoid
Oops, Watch Out!
Don't pull a Humpty Dumpty and have a great fall! Avoid these common mistakes:
- Overtightening the clamp (no need to Hulk smash!)
- Forgetting to check the height before tightening (double-check, just like your homework!)
6. Tips for Maintenance
Keeping Your Handlebar Happy
Give your handlebar some love every now and then:
- Check the height before each ride (just like checking for monsters under the bed!)
- Keep an eye out for any loose screws or bolts (they like to play hide and seek!)
7. Safety First!
Ride Safe, Ride Smart
Don't forget your helmet and elbow pads! Safety gear is like your superhero cape, protecting you from bumps and scrapes.
8. Final Thoughts
Enjoy Your Ride!
Now that you've mastered the art of adjusting your airbike's handlebar height, it's time to hit the road! Enjoy the wind in your hair and the sun on your face. You're unstoppable!
Conclusion
Adjusting your airbike's handlebar height is as easy as pie! Just remember to find your perfect height, loosen the clamp, adjust, and tighten it back up. Avoid common mistakes, keep your handlebar happy with some maintenance, and always ride safe!
FAQs (Frequently Asked Questions)
1. How do I know if my handlebar height is right for me?
- Your arms should be slightly bent when holding onto the handlebar, and you should feel comfortable and balanced.
2. Can I adjust my handlebar height without any tools?
- Unfortunately, you'll need a wrench to loosen and tighten the clamp securely.
3. Is it normal for the handlebar to move a little after adjusting?
- Yes, a slight movement is normal. Just make sure to tighten the clamp properly to keep it in place.
4. How often should I check my handlebar height?
- It's a good idea to check before each ride to ensure it hasn't shifted unexpectedly.
5. What if I can't adjust the handlebar height myself?
- If you're having trouble, don't hesitate to ask an adult or a bike shop for help. They'll be happy to assist you!
Follow us for more updates.