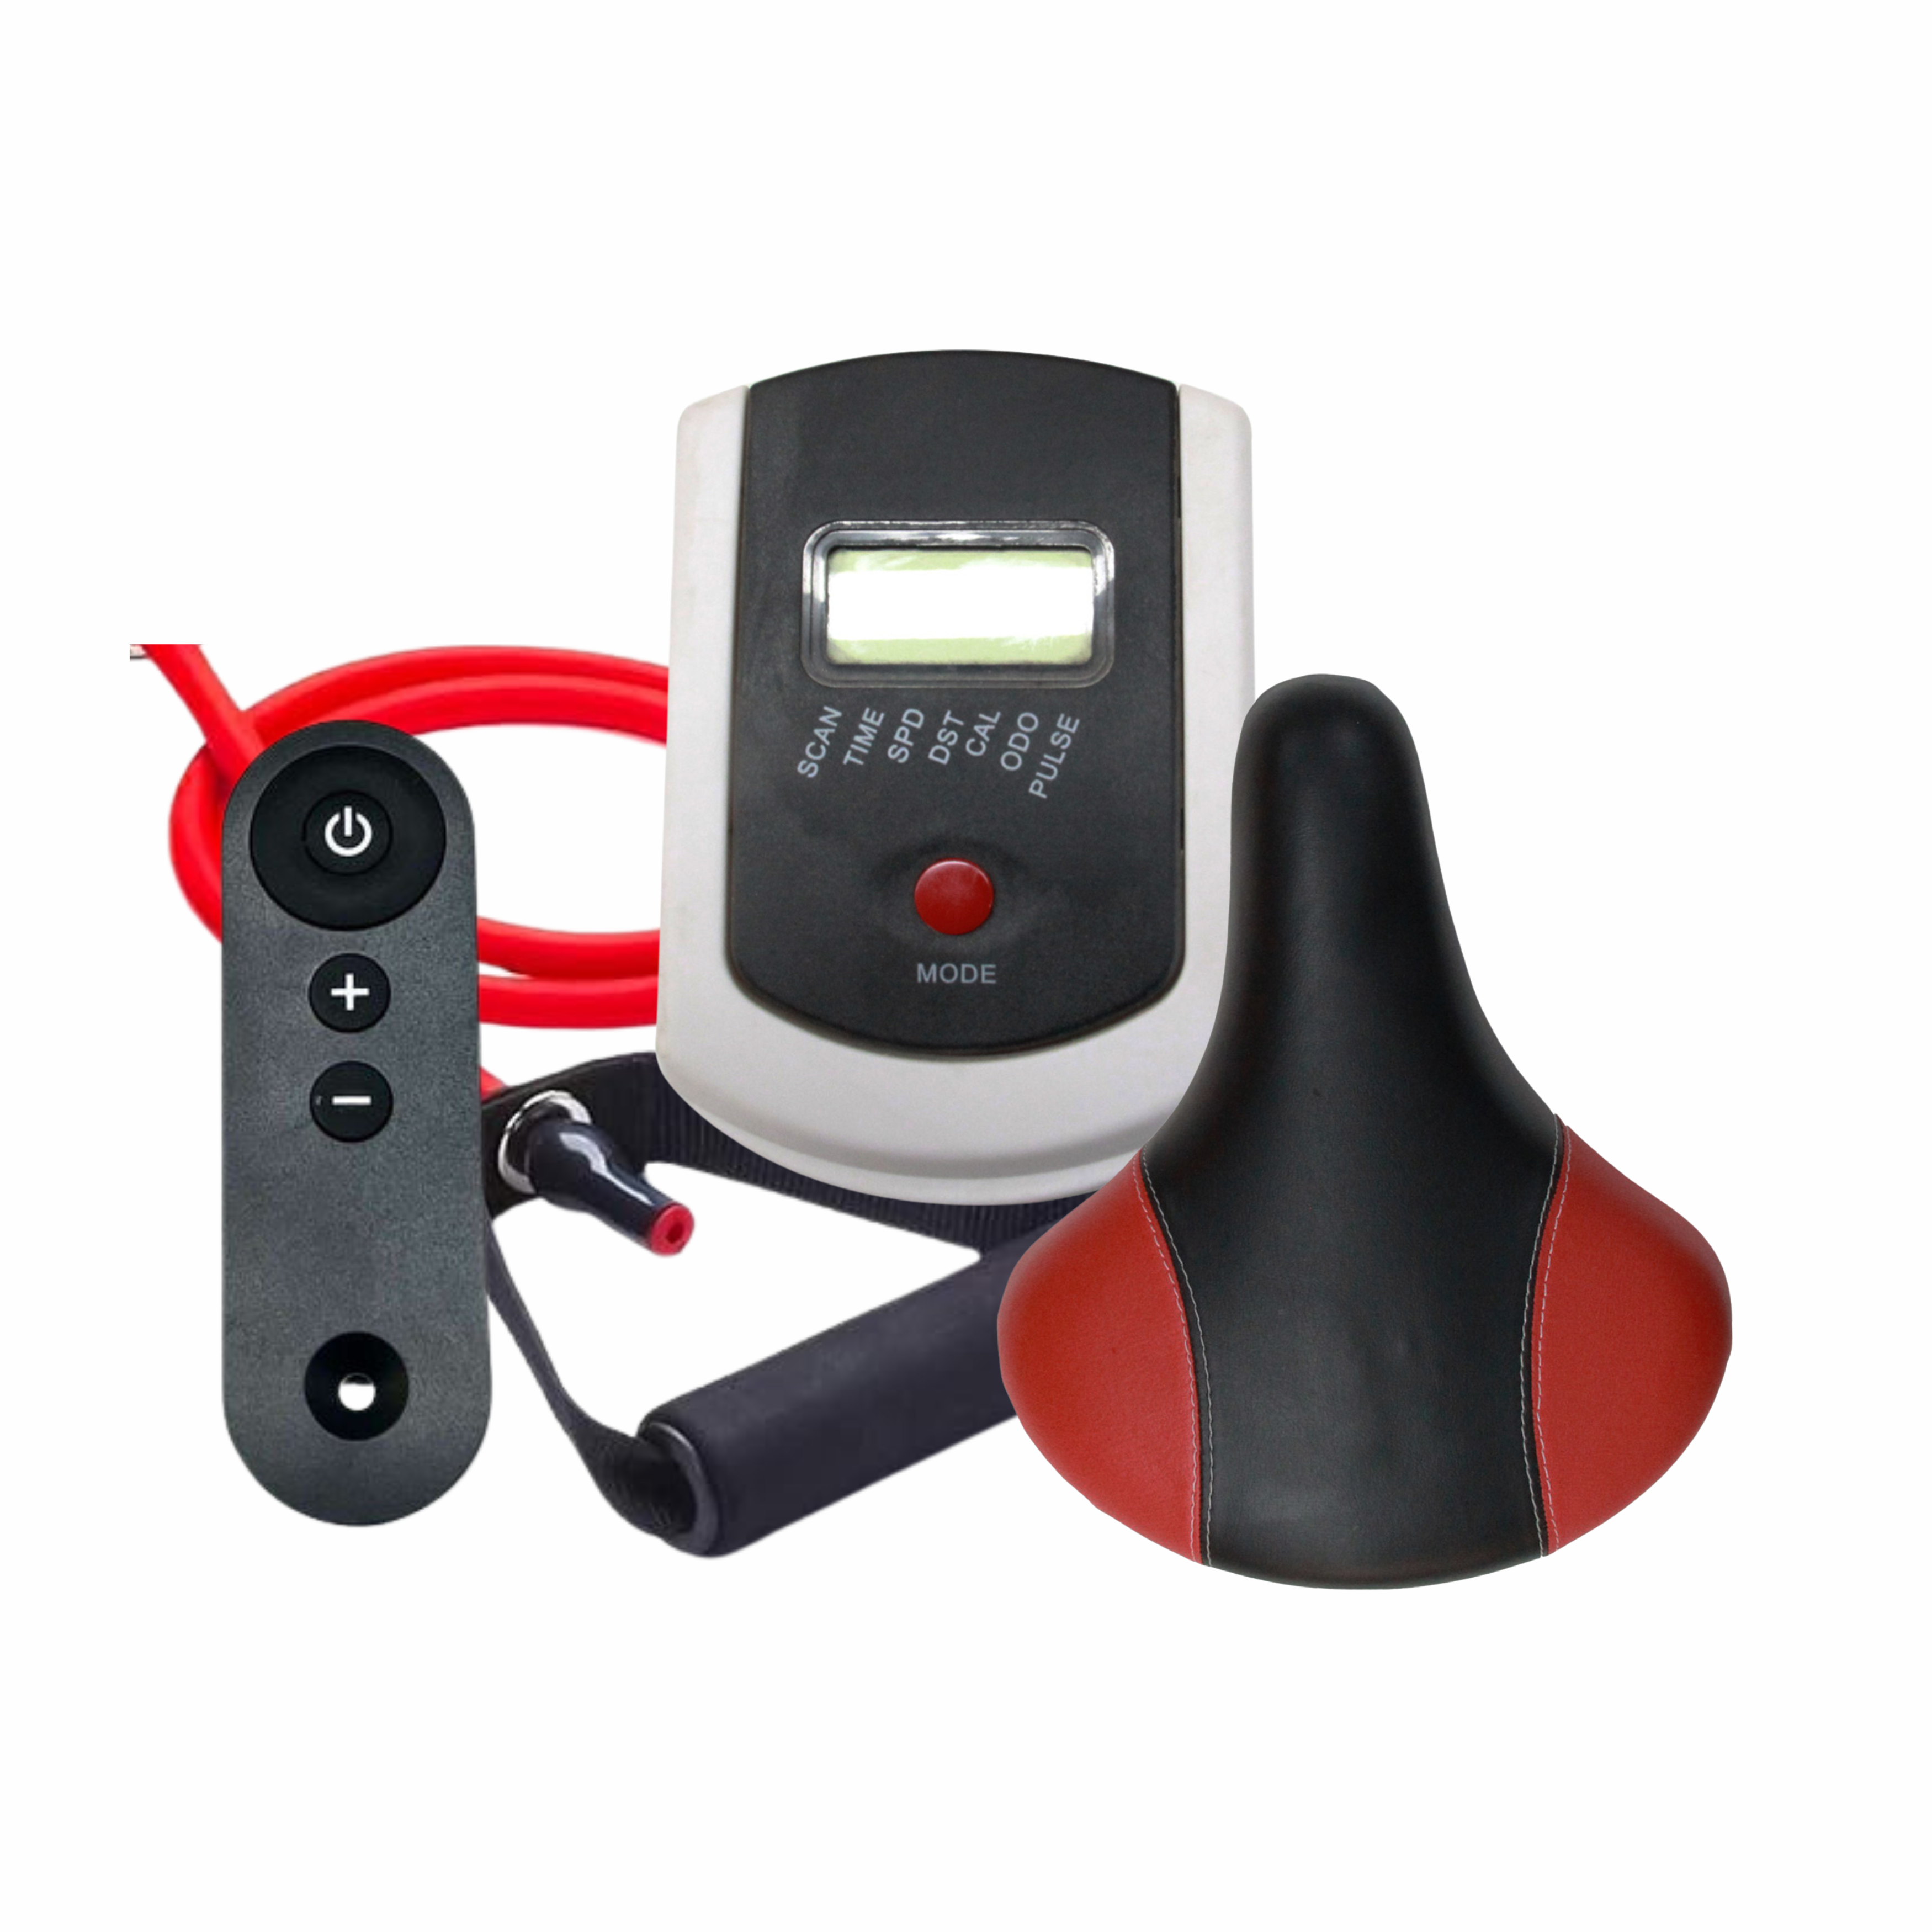
5 Tips for Getting Started with Your New BIONFIT Air Bike
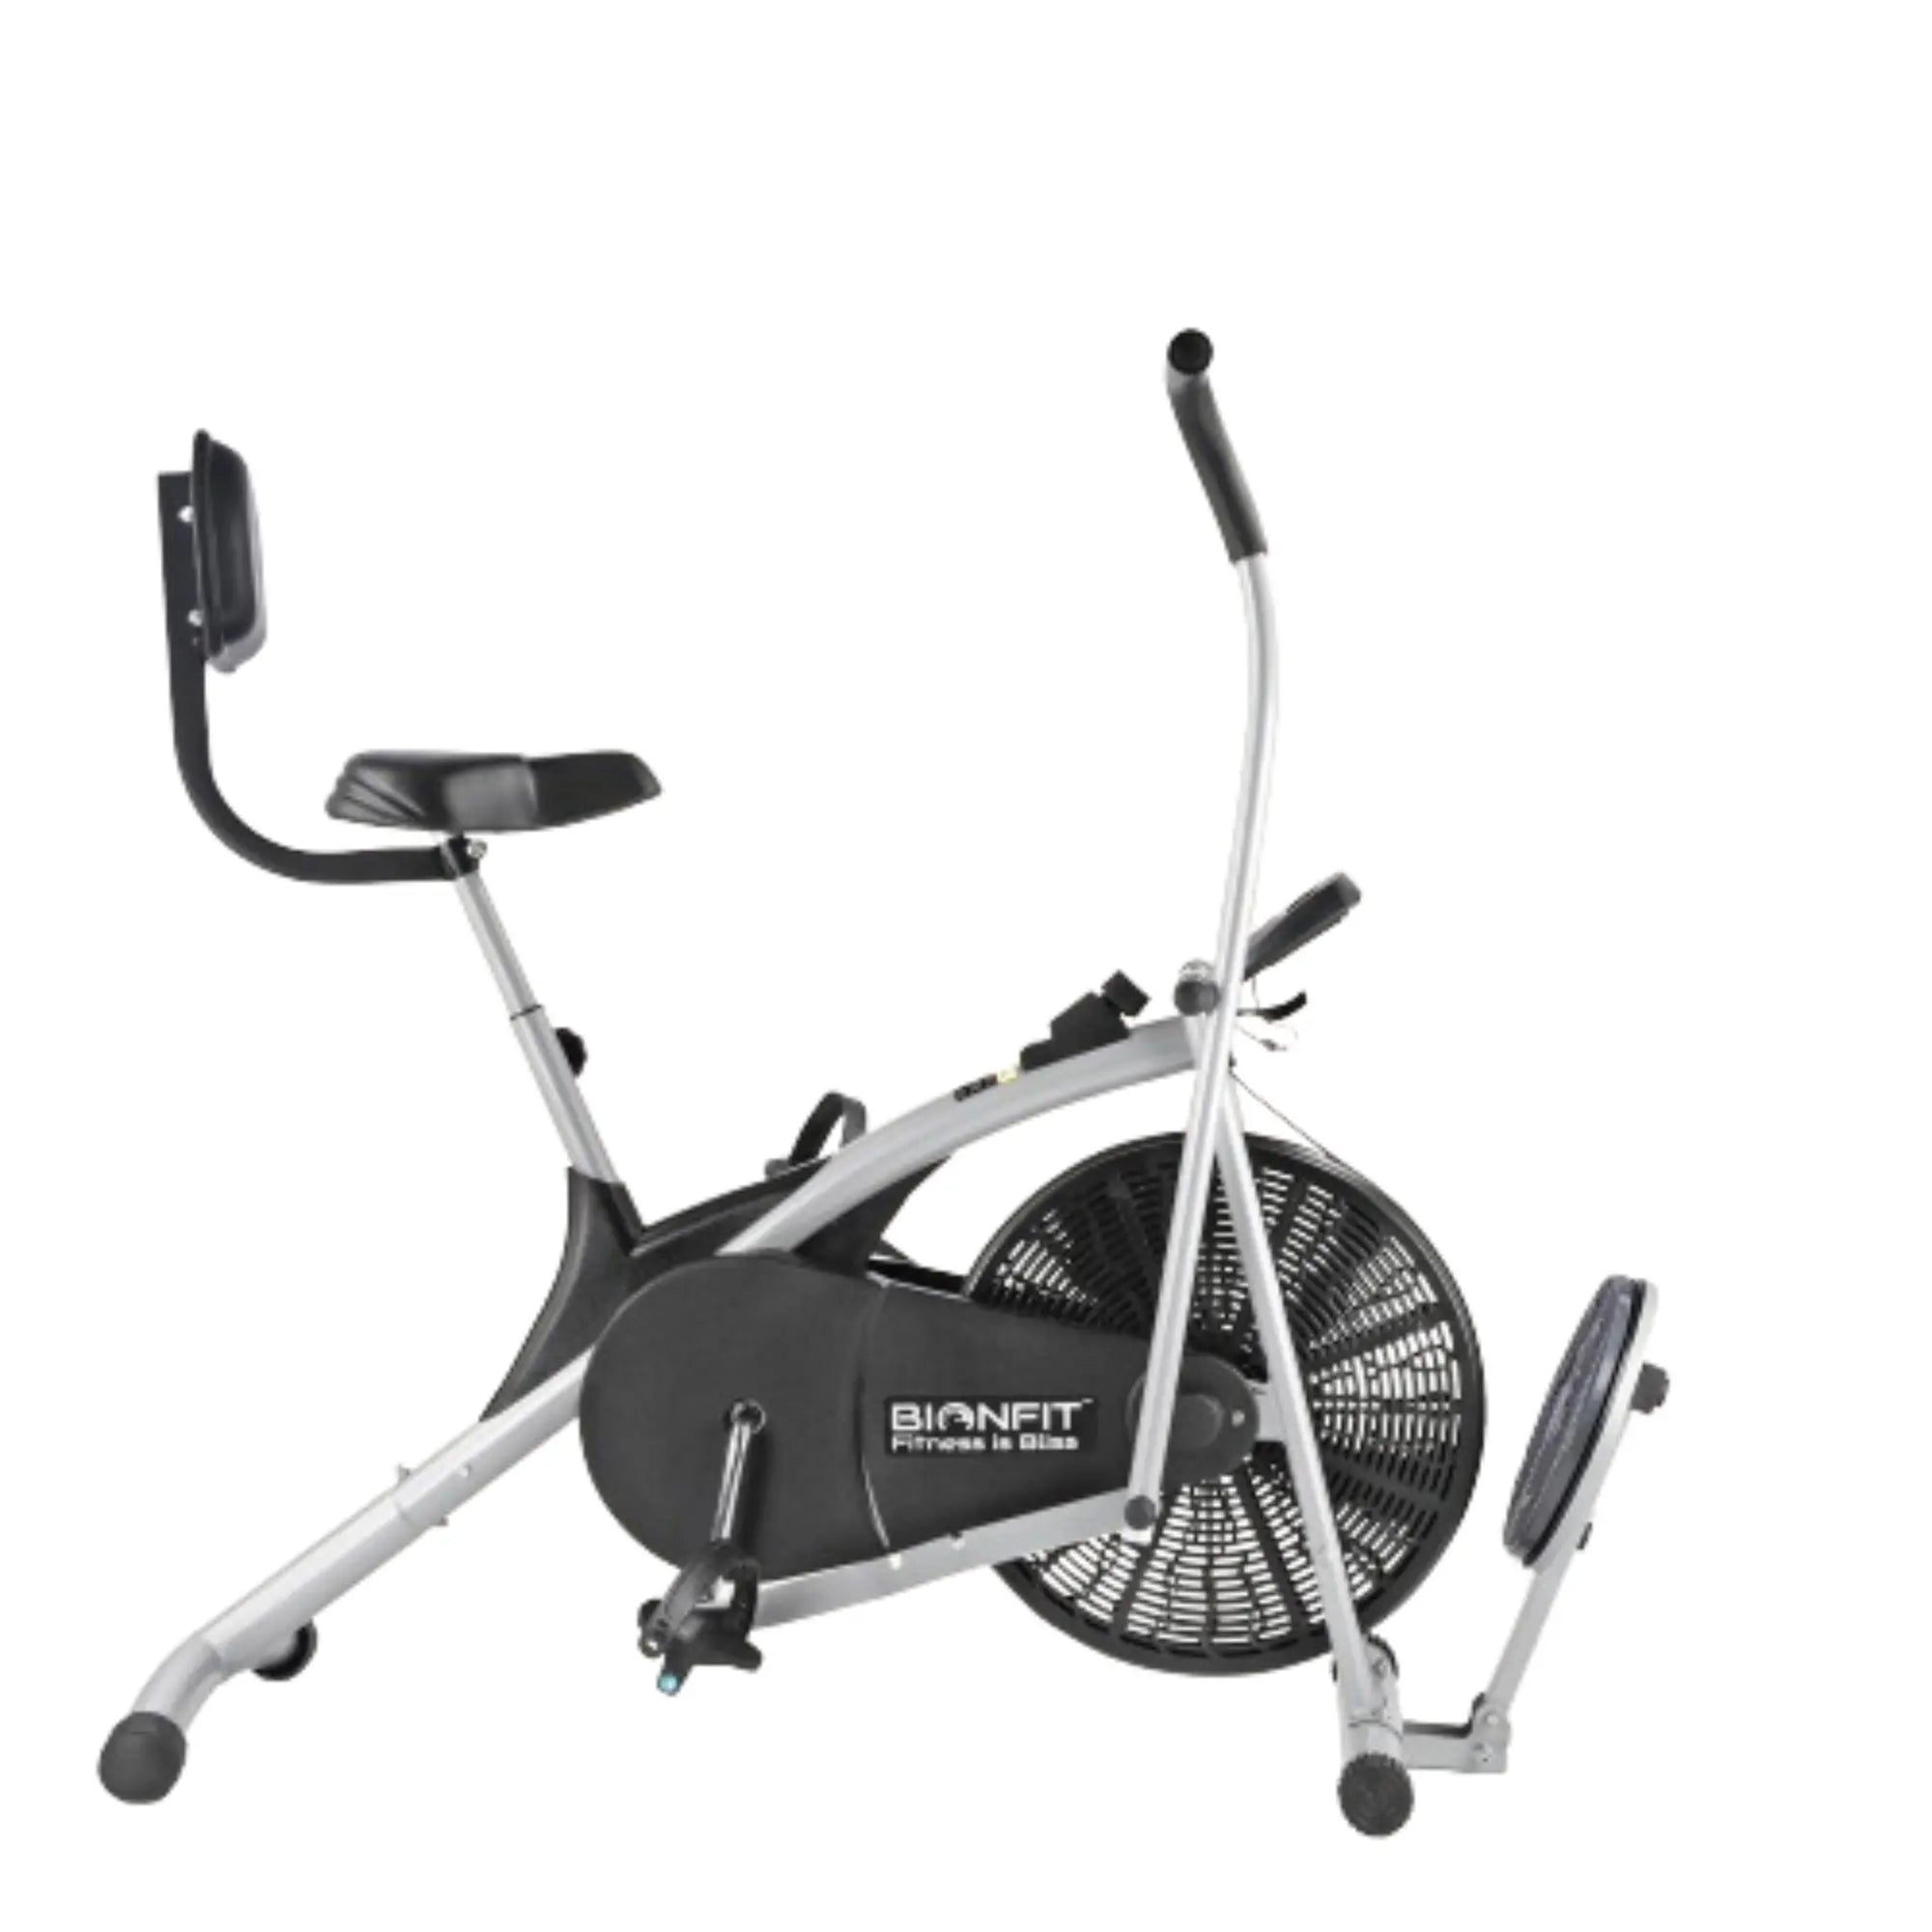
If you’ve just purchased the BIONFIT Air Bike, congratulations! You’ve invested in a piece of equipment that’s not only versatile but also incredibly effective for a full-body workout. Whether you're a fitness enthusiast or a beginner, this air bike can help you achieve your fitness goals through high-intensity interval training (HIIT), steady-state cardio, or even as part of your warm-up routine. But like any new piece of equipment, getting started can be a bit overwhelming. Here are five essential tips to help you maximize your experience with the BIONFIT Air Bike.
1. Proper Assembly: Set Up for Success
Before you hop on your BIONFIT Air Bike, it’s crucial to ensure that it’s assembled correctly. A well-assembled bike not only ensures safety but also guarantees that you get the most out of your workouts. Here’s how to do it:
- Follow the Manual: Start by reading the instruction manual thoroughly. It may seem tedious, but it’s vital to understand each component of your air bike.
- Use the Right Tools: The BIONFIT Air Bike usually comes with the necessary tools for assembly, but double-check to ensure you have everything you need. Using the correct tools ensures that all parts are tightened properly, reducing the risk of the bike becoming unstable.
- Double-Check the Connections: Make sure all nuts, bolts, and screws are securely fastened. Pay extra attention to the handles and pedals, as these parts endure the most strain during use.
- Test Stability: Once assembled, place the bike on a flat surface and give it a gentle shake to ensure it’s stable. If there’s any wobbling, adjust the feet until it’s rock solid.
2. Get Comfortable: Adjusting the Bike to Your Body
One of the biggest advantages of the BIONFIT Air Bike is its adaptability to different body types. To ensure comfort and efficiency during your workouts, you’ll need to adjust the bike to fit your body perfectly:
- Seat Height: Adjust the seat height so that your knees have a slight bend at the bottom of each pedal stroke. Your legs should never be fully extended, as this can cause strain.
- Handlebar Position: The handlebars should be at a height where your arms can move freely without locking your elbows. For most users, this means a slight bend in the elbows when gripping the handles.
- Foot Placement: Ensure your feet are securely placed on the pedals with the ball of your foot centered. If the bike comes with foot straps, use them to keep your feet in place during intense sessions.
3. Start Slow: Ease Into Your Workouts
It’s tempting to jump into a high-intensity workout right away, but if you’re new to the BIONFIT Air Bike or to air bike workouts in general, it’s wise to start slow. Here’s how you can ease into your new routine:
- Begin with Short Sessions: Start with 10-15 minute sessions to get used to the motion of the bike and how your body responds to it. This allows your muscles to adapt without overexertion.
- Low Resistance: The BIONFIT Air Bike automatically adjusts resistance based on your speed, but in the beginning, keep your speed moderate. Focus on maintaining a steady pace rather than going all out.
- Focus on Form: Ensure that you’re maintaining proper form—engage your core, keep your back straight, and avoid locking your knees or elbows.
4. Incorporate Intervals: Maximize Your Workout Efficiency
Once you’re comfortable with the basics, it’s time to ramp up the intensity. One of the most effective ways to use the BIONFIT Air Bike is through interval training, which alternates between high-intensity bursts and periods of rest or low intensity:
- HIIT Workouts: Start with a simple HIIT workout, such as 20 seconds of all-out effort followed by 40 seconds of slow pedaling. Repeat this cycle for 10-15 minutes. As you build stamina, you can increase the duration of the high-intensity intervals or shorten the rest periods.
- Tabata Protocol: For a quick but intense workout, try the Tabata method—20 seconds of maximum effort followed by 10 seconds of rest, repeated eight times. This workout is only four minutes long, but it’s incredibly effective for burning calories and improving cardiovascular fitness.
- Pyramids: Another fun way to challenge yourself is with pyramid intervals, where you gradually increase the duration of your work periods, then decrease them. For example, start with 30 seconds of effort, rest for 30 seconds, then go for 45 seconds of effort, and so on, up to a minute. Then work your way back down.
5. Post-Workout Care: Maintain Your BIONFIT Air Bike
To ensure your BIONFIT Air Bike remains in top condition and lasts for years, regular maintenance is essential. Here’s how to keep your bike in perfect working order:
- Wipe Down After Use: After each workout, wipe down the bike, especially the handles and seat, to remove sweat and dirt. This prevents rust and keeps the bike looking new.
- Check for Loose Parts: Periodically inspect the bike for any loose bolts or screws. Tighten them as needed to prevent any rattling or instability.
- Lubricate Moving Parts: Apply lubricant to the chain or belt (depending on your model) every few months to ensure smooth operation.
- Store Properly: If you’re not using the bike for an extended period, store it in a cool, dry place to prevent damage from moisture or extreme temperatures.
Conclusion: Enjoy the Ride
The BIONFIT Air Bike is a powerful tool in your fitness arsenal, capable of delivering incredible results when used correctly. By following these tips—proper assembly, adjusting the bike to fit your body, starting slow, incorporating intervals, and maintaining your bike—you’ll be well on your way to achieving your fitness goals.
Remember, consistency is key. Start with manageable goals, and gradually increase the intensity of your workouts as your fitness improves. With dedication and the right approach, the BIONFIT Air Bike will become an integral part of your fitness routine, helping you build strength, endurance, and overall health.
Follow us for more updates.

